The kitchen is the heart of the home, where delicious meals come to life and memories are made. To make your cooking experience safer and more efficient, organizing your knives is essential. A magnetic knife strip is a brilliant solution, keeping your knives accessible while adding a rustic touch to your kitchen decor. In this blog post, we’ll walk you through a step-by-step DIY project to create a magnetic knife strip using wood and magnetic tape, freeing up valuable counter space and keeping your culinary tools neatly organized.
Why Opt for a Magnetic Knife Strip?
Before we delve into the DIY process, let’s explore why a magnetic knife strip is a fantastic choice:
- Space Optimization: By mounting your knives on the wall, you’ll declutter your countertops, creating a more open and organized kitchen.
- Safety First: Storing knives on a magnetic strip minimizes the risk of accidents that can occur when rummaging through drawers or using countertop knife blocks.
- Effortless Accessibility: With your knives displayed on the wall, you can easily see and grab the knife you need, streamlining your cooking experience.
- Aesthetic Appeal: A DIY magnetic knife strip can be both functional and stylish, adding a rustic and personal touch to your kitchen decor.
Materials and Tools You’ll Need
Before you start, gather the materials and tools necessary for this DIY magnetic knife strip project:
**The link and pictures below are paid links**
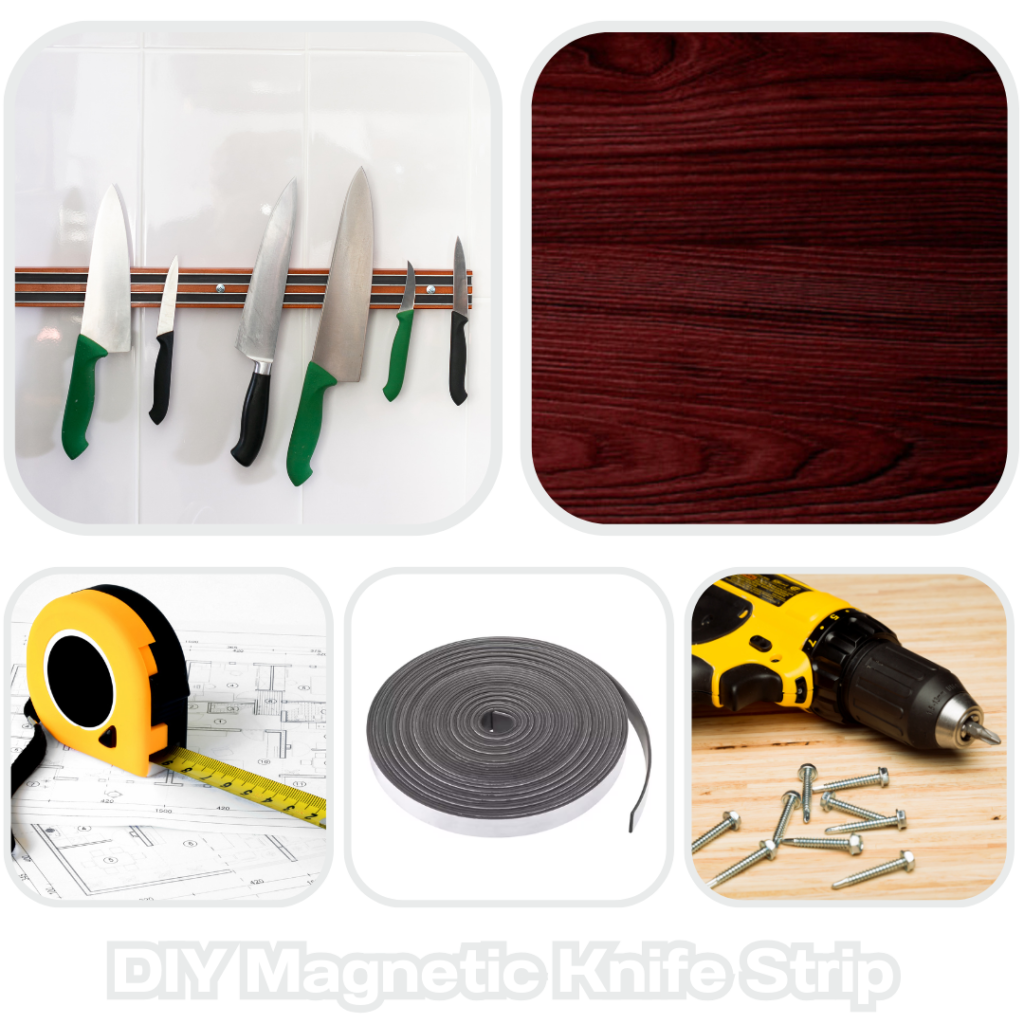
Materials:
- A wooden board (e.g., hardwood, plywood, or reclaimed wood) – The length depends on how many knives you wish to store
- Magnetic tape or magnetic strips with adhesive backing
- Screws (suitable for wood)
- Wood finish (optional for aesthetics)
- Sandpaper
Tools:
- Saw or jigsaw (if you need to cut the wooden board to size)
- Drill
- Screwdriver
- Measuring tape
- Pencil
- Level
Step-by-Step DIY Magnetic Knife Strip Guide
1. Choose Your Wooden Board:
- Begin by selecting a wooden board that complements your kitchen’s style. Ensure it’s long enough to accommodate your knives comfortably.
2. Prepare the Wooden Board:
- If your board is too long, use a saw or jigsaw to trim it to the desired length.
- Sand the wooden board to remove rough edges or splinters, creating a smooth surface.
3. Finish or Paint (Optional):
- If you want to enhance the board’s appearance or match it to your kitchen’s color scheme, apply wood finish or paint. Allow it to dry thoroughly.
4. Mark Knife Placement:
- Determine the positions where you want your knives to be placed on the board. Use a measuring tape and pencil to mark these spots, ensuring even spacing.
5. Attach Magnetic Tape:
- Cut pieces of magnetic tape to match the length of each marked area on the board.
- Peel off the adhesive backing and attach the magnetic tape to the wooden board, following your markings.
6. Mount the Wooden Board:
- Find a suitable location on your kitchen wall to mount the wooden board. Ensure it’s within easy reach and at a convenient height.
- Use a measuring tape, level, and pencil to mark the desired position for the screws.
7. Install the Magnetic Knife Strip:
- Screw the wooden board onto the wall using the marks you made earlier. Ensure the board is securely fastened.
8. Check for Level:
- Use a level to verify that your magnetic knife strip is mounted perfectly straight.
9. Arrange Your Knives:
- Once the magnetic strip is securely in place, arrange your knives on it. Ensure they adhere firmly to the magnetic surface.
10. Stand Back and Admire:
- Step back and appreciate your handiwork. You’ve successfully crafted a functional and visually appealing magnetic knife strip that declutters your kitchen, enhances accessibility, and adds charm to your culinary space.
A Rustic and Functional Kitchen Solution
With your DIY magnetic knife strip composed of wood and magnetic tape, your kitchen will become more organized, efficient, and aesthetically pleasing. Not only does it free up counter space, but it also adds a touch of personality to your kitchen decor. Enjoy the convenience, safety, and rustic charm of your newly optimized kitchen space as you continue to create culinary delights and cherished memories.
Leave a Reply