There’s something inherently enchanting about pressed flower art. It captures the ephemeral beauty of flowers, freezing their delicate petals and vibrant colors in time. Not only does it serve as a creative outlet, but it also adds a touch of natural elegance to your home decor. In this DIY project, we’ll guide you through the steps to create your own pressed flower art and elevate your living spaces with a personalized touch of nature.
**All Links below are Paid Links**
Materials You’ll Need:
- Fresh Flowers: Choose a variety of flowers and foliage with vibrant colors and interesting shapes. Wildflowers, roses, daisies, and leaves with unique textures work well.
2. Flower Press: You’ll need something heavy to press the flowers. A flower press is ideal, but you can also use heavy books or flat objects like wooden boards.
3. Parchment Paper: This prevents the flowers from sticking to the pages of the book or the press.
4. A Journal: For flower pressing, you’ll need a book with absorbent pages.
5. Tweezers: These help handle delicate flowers without damaging them.
6. Glue: To secure the pressed flowers onto your canvas or paper.
7. Canvas or Card Stock: Choose a surface to display your pressed flower art. Canvas or acid-free paper works best to preserve the flowers.
8. Card Stock Frame or Canvas Frame: Optional, but it enhances the presentation of your artwork.
Steps to Create Pressed Flower Art:
- Gather Your Flowers: Begin by collecting a variety of fresh flowers and foliage. The best time to do this is in the morning when the flowers are hydrated and at their most vibrant. Avoid flowers that are damaged or have blemishes.
- Prepare the Flower Press or Heavy Books: If you’re using a flower press, set it up according to the manufacturer’s instructions. If you’re using books, place parchment paper between the pages to prevent ink transfer.
- Arrange Flowers for Pressing: Lay out the flowers on one side of the open book or flower press. Arrange them with enough space between each flower to prevent overlap. You can create different arrangements to experiment with later.
- Press the Flowers: Carefully close the book or press, ensuring that the flowers remain in place. Apply even pressure. If using books, stack more heavy books on top. Flowers usually take 1-2 weeks to fully dry and press, but some thicker flowers may take longer.
- Check the Flowers: After the pressing period, open the press or book to reveal your pressed flowers. Gently touch them to ensure they are dry and flat. If any flowers are not ready, reposition them and continue pressing.
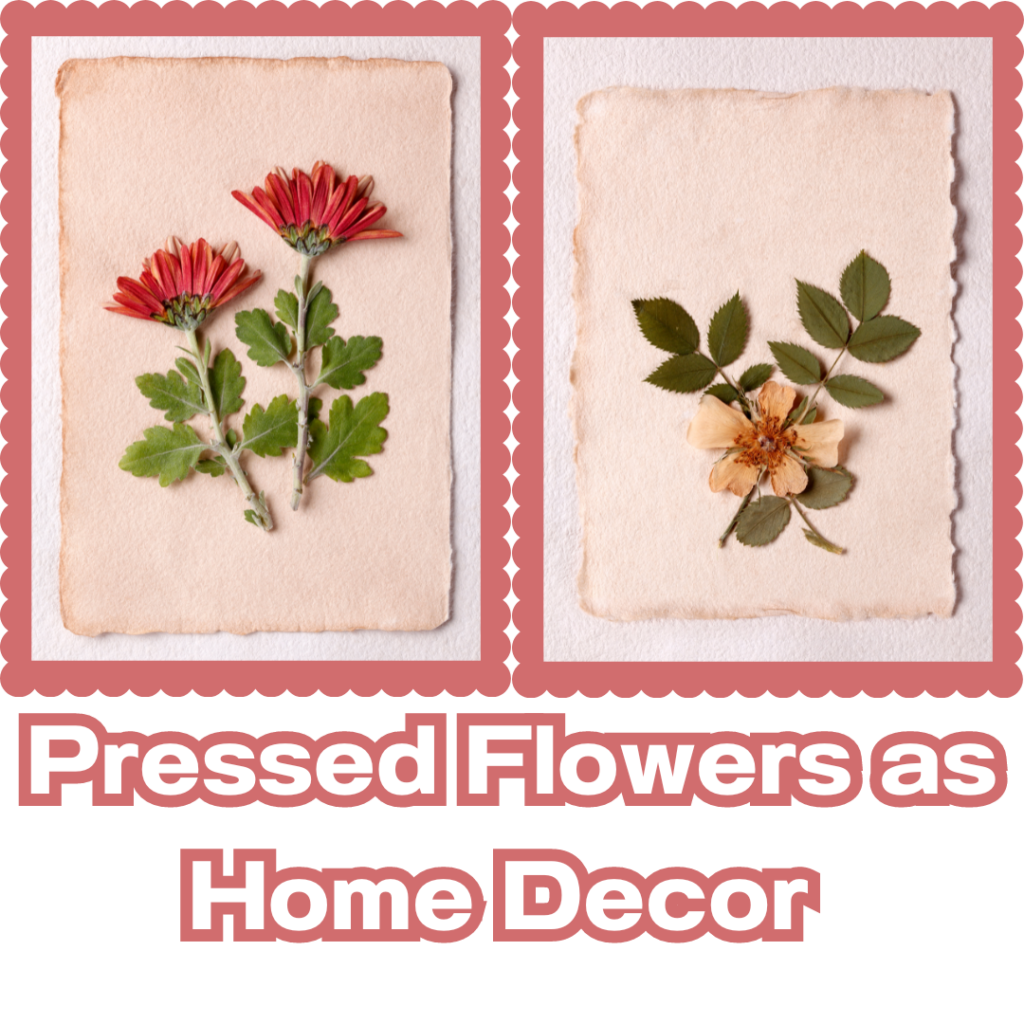
- Create Your Artwork: Now it’s time to design your pressed flower art. Choose a canvas, paper, or cardstock as your base. Plan your composition by arranging the pressed flowers and foliage on your chosen surface. Experiment with different layouts until you’re satisfied.
- Secure the Flowers: Use glue or craft adhesive to secure the pressed flowers in place. Apply a thin layer of adhesive to the back of each flower and press it onto the canvas or paper. Tweezers or small tongs can be helpful for precise placement.
- Frame Your Art (Optional): For a polished look, frame your pressed flower art. Select a frame that complements the colors and style of your artwork. Ensure that the frame has a mat or spacer to prevent the glass from touching the pressed flowers.
Creating pressed flower art is a delightful DIY project that allows you to incorporate the beauty of nature into your home decor. The result is not only visually stunning but also carries a sense of nostalgia and a connection to the natural world. With a bit of patience and creativity, you can produce unique and personalized artworks that breathe life and elegance into your living spaces. So, gather your favorite blooms and start preserving their beauty through the art of pressing flowers. Your home will thank you with a touch of natural charm.
Leave a Reply