
As an Amazon Associate I earn from qualifying purchases. This post contains affiliate links — if you buy through them, I may earn a small commission at no extra cost to you.
Floating shelves are one of those projects that look way harder than they are. No visible brackets, no bulky hardware — just clean wooden shelves that seem to hover on the wall. They’re perfect for displaying books, plants, and decor, and they work in literally any room: living room, bedroom, kitchen, bathroom, or entryway.
In this guide, I’ll walk you through building and mounting three 36-inch wooden floating shelves using hidden brackets — the classic setup that gives you that seamless floating look.
Skill level: Beginner
Build time: 2–3 hours (plus stain/paint drying time)
Estimated cost: $60–$120 for three shelves, depending on wood and bracket choices
Why Hidden Brackets?
There are two main ways to mount floating shelves: decorative visible brackets, and hidden brackets that slide inside the shelf. Hidden brackets give you the true “floating” look — no hardware visible at all. They screw flat to the wall, and the shelf slides right over the metal rods. It’s the cleanest, most modern result, and installation is genuinely beginner-friendly as long as you hit the studs.
Materials
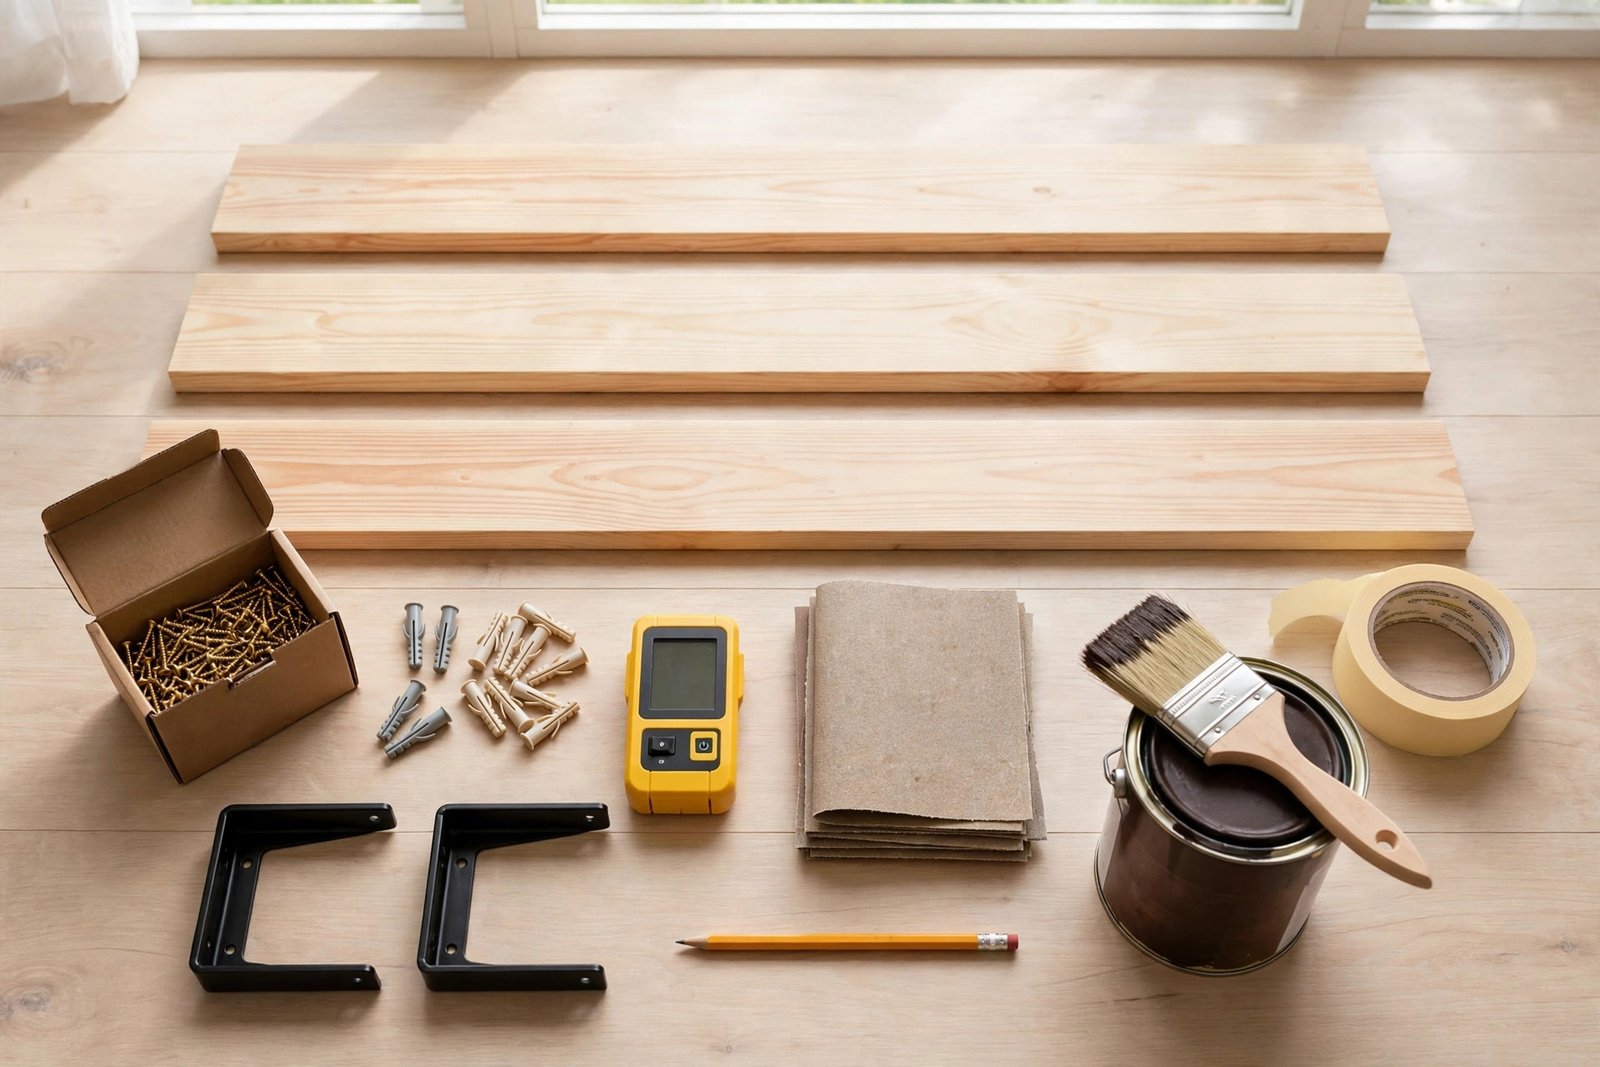
Here’s everything you’ll need for three 36-inch shelves:
- 3 – 1″ x 8″ x 36″ pine boards (or have 8-ft boards cut to size) — shop pine boards on Amazon. Pine is affordable, easy to work with, and takes stain beautifully.
- 3 sets of hidden floating shelf brackets (one set per shelf, sized for 8″ deep shelves) — shop hidden floating shelf brackets on Amazon. Look for heavy-duty steel brackets rated for at least 30 lbs per pair.
- Wood screws — shop wood screws on Amazon. Brackets usually include them, but grab extras in 2″ and 2.5″ lengths for mounting into studs.
- Heavy-duty drywall anchors — shop drywall anchors on Amazon. For any bracket hole that doesn’t land on a stud.
- Sandpaper assortment (120 and 220 grit) — shop sandpaper on Amazon.
- Wood stain or paint — shop wood stain on Amazon in your chosen color, or use paint for a modern look.
- Painter’s tape — shop painter’s tape on Amazon for marking layout lines without damaging the wall.
Tools
- Stud finder — shop stud finders on Amazon. Non-negotiable for a secure mount.
- Cordless power drill/driver — shop cordless drills on Amazon, plus a drill bit set for pilot holes.
- Level (24″ is ideal) — shop levels on Amazon.
- Tape measure — shop tape measures on Amazon.
- Pencil for marking.
- Paintbrush or foam applicator for stain/paint — shop stain brushes on Amazon.
- Safety glasses — shop safety glasses on Amazon.
Step-by-Step Instructions
Step 1: Plan Your Layout
Decide where your shelves will go and how they’ll be arranged. The most popular setup is three shelves stacked vertically, spaced 12–18 inches apart — enough room for books and decor on each shelf. Hold a board up against the wall to visualize the height, and check for obstructions like outlets and light switches. Mark your rough positions lightly with a pencil.
Tip: Leave at least 12 inches of clearance above the top shelf so you can actually place and arrange items on it.
Step 2: Prep Your Boards
If your boards aren’t already cut to length, measure and mark 36 inches and make the cuts (a circular saw works great — or have the lumber yard cut them when you buy). Then sand every surface: start with 120-grit to smooth rough spots, then finish with 220-grit for a silky surface. Wipe off the dust with a damp cloth.
Apply your wood stain or paint following the manufacturer’s instructions — usually one to two coats, applied with the grain. Let the boards dry completely (check the can; most stains need 4–8 hours) before mounting. Staining before installation is much easier than doing it on the wall.
Step 3: Find the Studs
This is the most important step for a shelf that stays up. Run your stud finder horizontally across the wall where each shelf will go. When it signals a stud, mark the center of the stud with a pencil — mark both edges and find the middle, since stud finders can be off by half an inch. Studs are typically spaced 16 inches apart.

Why studs matter: Drywall alone can’t reliably hold a loaded shelf. Every bracket should catch at least one stud; any hole that misses gets a heavy-duty anchor.
Step 4: Mark Your Lines
For each shelf, use your level and pencil to draw a light horizontal line where the bottom of the shelf will sit. Then run a strip of painter’s tape along that line — it gives you a crisp visual guide and protects the wall from pencil marks. Hold the bracket up against the tape and mark each screw hole position with the pencil.
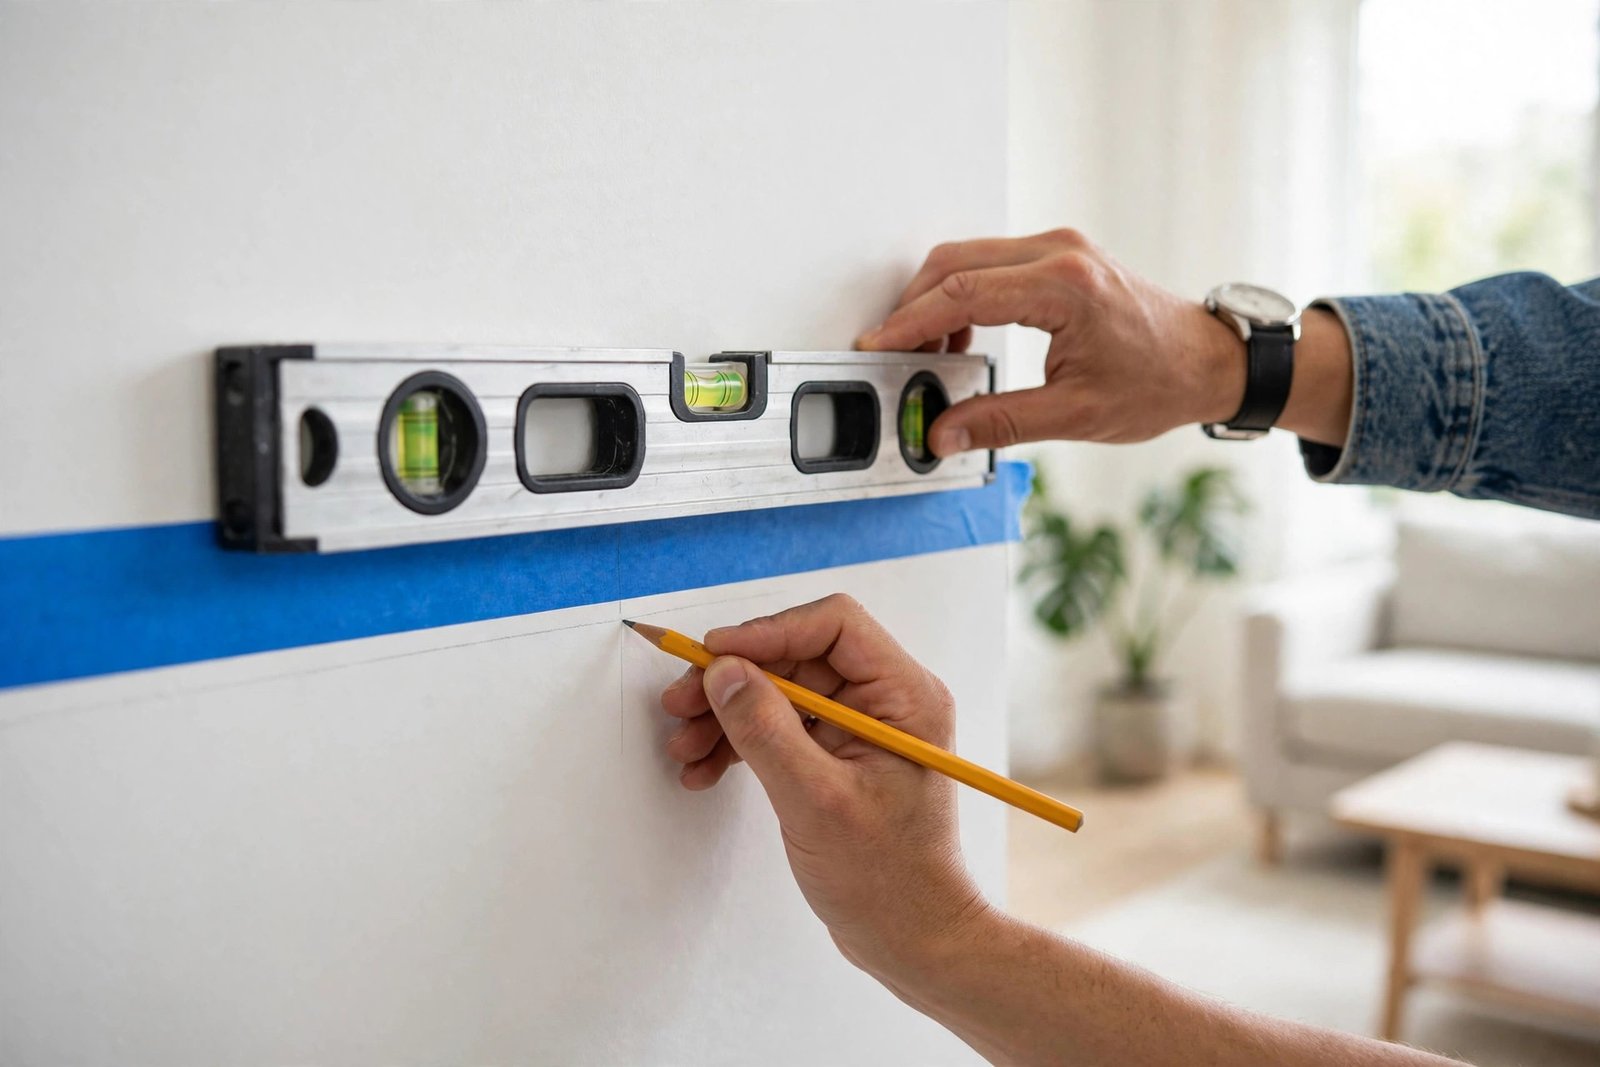
Double-check that your three shelf lines are parallel and evenly spaced before you drill anything. Measure twice, drill once.
Step 5: Drill Pilot Holes and Install Anchors
Put on your safety glasses. Using a drill bit slightly smaller than your screws, drill pilot holes at each marked screw position. Pilot holes prevent the drywall from crumbling and make driving screws much easier.
For every hole that missed a stud, push in a heavy-duty drywall anchor now — tap it flush with the wall. Holes that hit studs don’t need anchors; the screw bites directly into the wood.
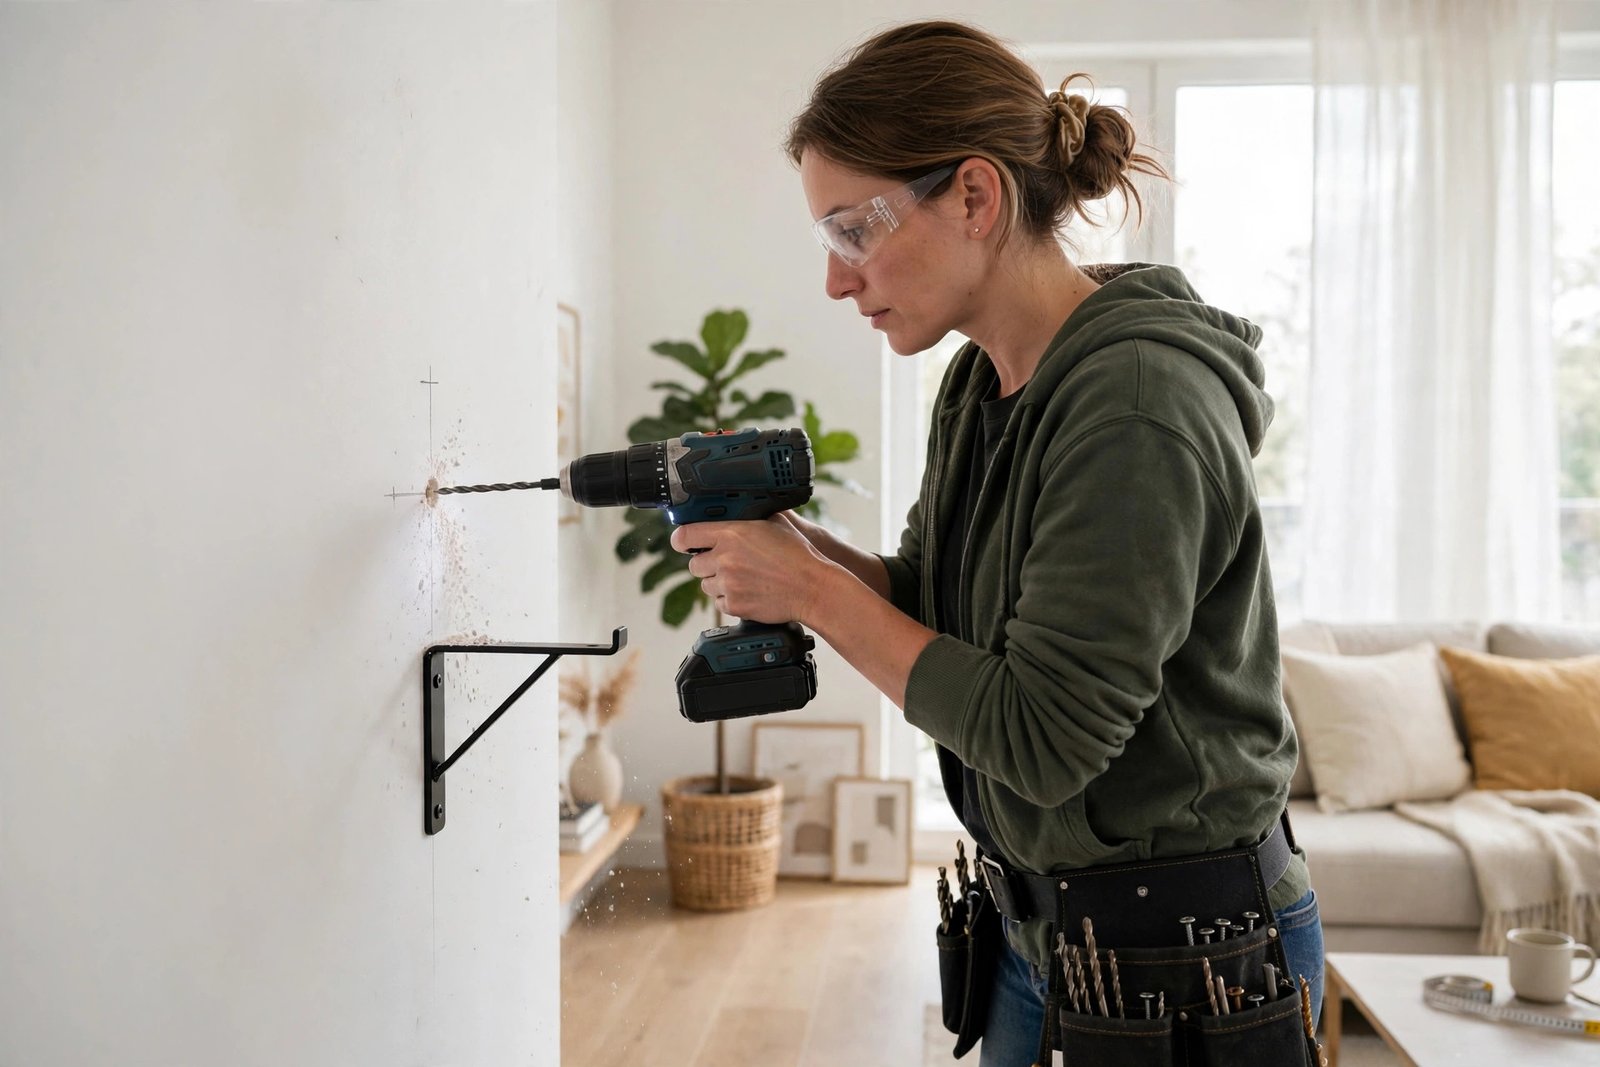
Step 6: Mount the Brackets
Hold the bracket in place and drive screws through each hole — into the stud where you have one, into the anchor where you don’t. Don’t fully tighten the first screw; get all screws started, then check the bracket with your level, adjust if needed, and tighten everything down. The bracket must be perfectly level — any tilt will be obvious once the shelf is on.
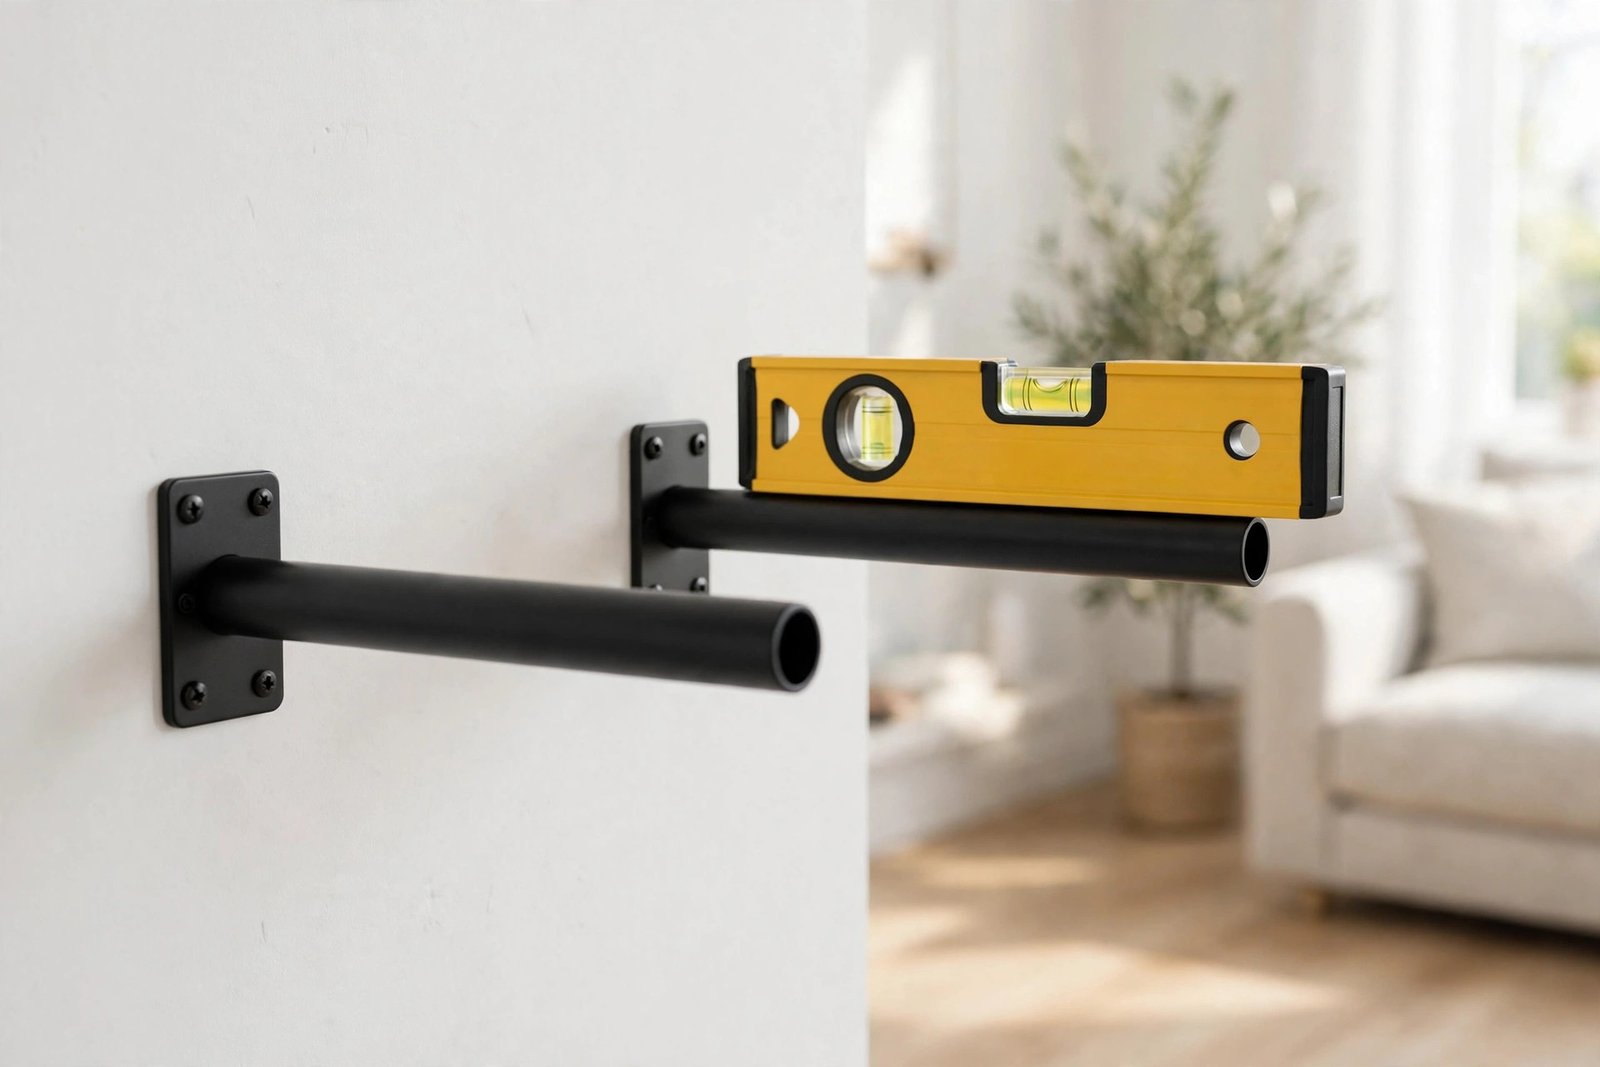
Tip: If your bracket kit includes small set screws on the underside, leave them loose for now — you’ll tighten them after the shelf is on.
Step 7: Slide On the Shelves
Now the satisfying part. Slide each stained board onto its bracket rods, pushing it back until it’s snug against the wall. Check with the level once more, then tighten any set screws underneath to lock the shelf in place. Give each shelf a firm shake — it should feel completely solid with no wobble.
If a shelf isn’t perfectly level, loosen the bracket screws slightly, nudge the bracket, and re-tighten. Small adjustments here make a big difference in the final look.
Step 8: Style Your Shelves
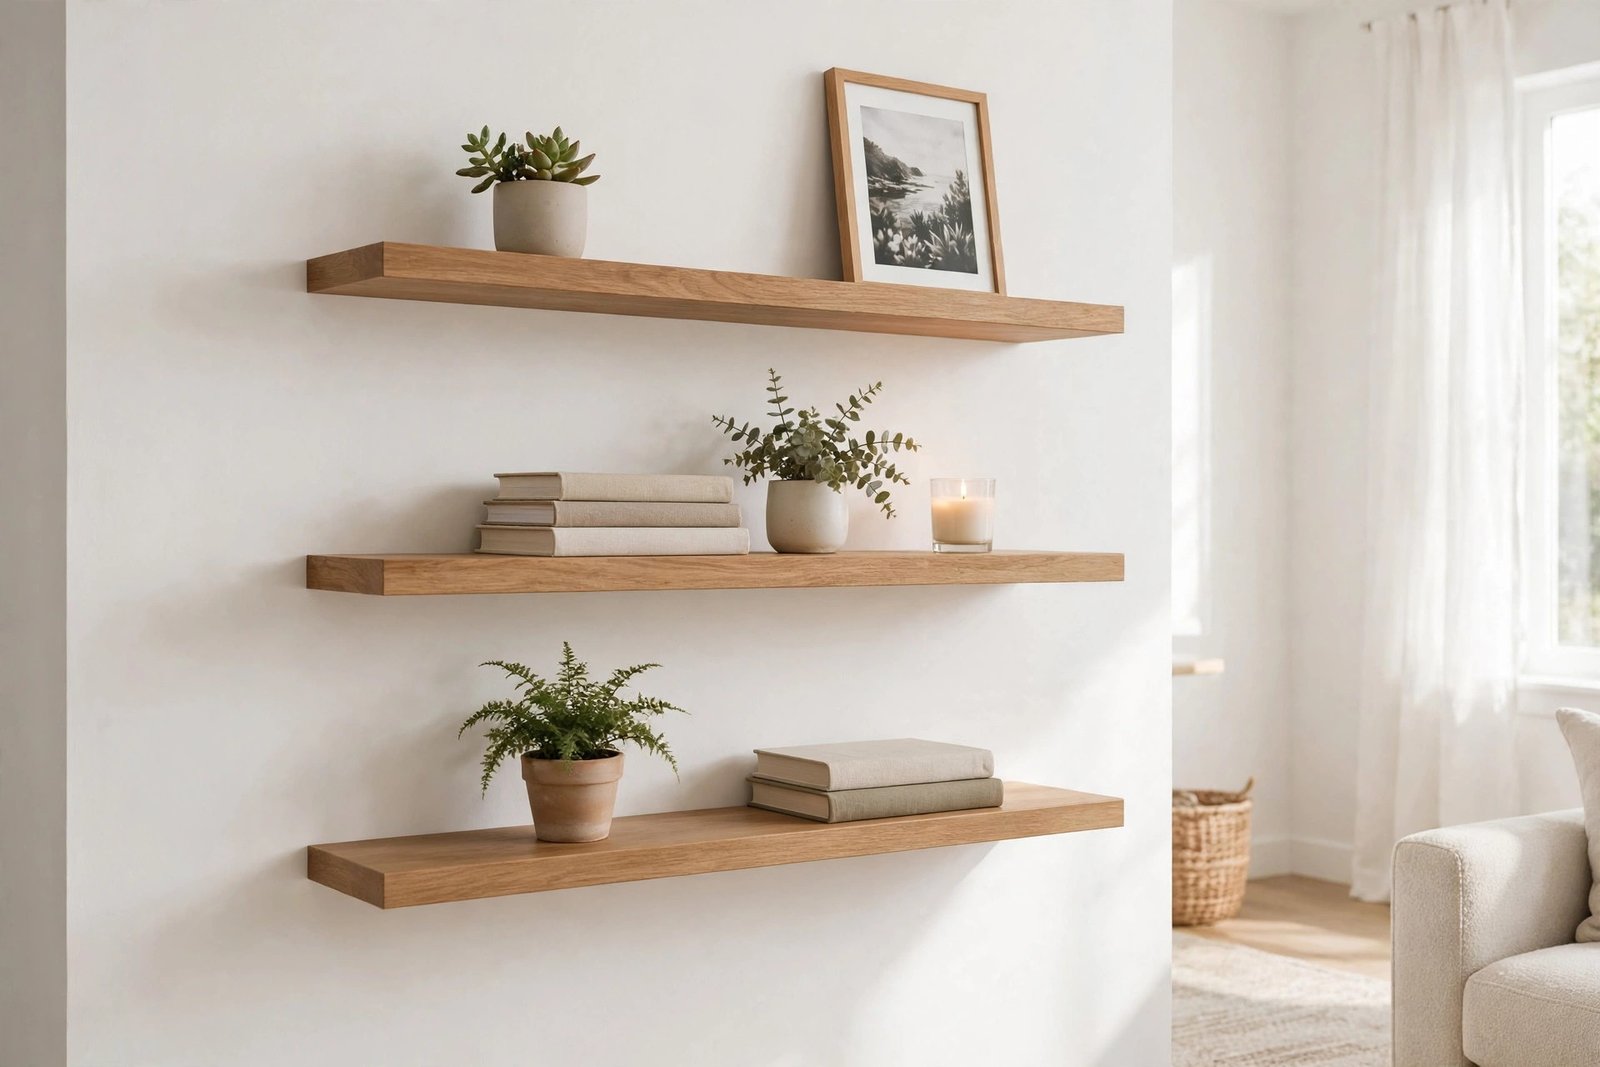
The fun part! A few styling rules that always work: mix heights (tall plants next to short stacks of books), leave some breathing room (don’t pack every inch), and group items in odd numbers. Great shelf decor includes small potted plants, framed photos, candles, and a few favorite books.
Tips for Success
- Always hit at least one stud per bracket. Anchors are a backup, not the main plan — studs are what keep loaded shelves on the wall for years.
- Stain or paint before mounting. It’s faster, cleaner, and you get a better finish working on a flat board.
- Check level at every stage — when marking, after mounting brackets, and after sliding shelves on. Catching a tilt early saves rework.
- Don’t overload. Even sturdy hidden brackets have limits — check your bracket’s weight rating and distribute heavy items (like books) across multiple shelves.
- Pre-drill everything. Pilot holes in the wall prevent crumbling drywall, and they make screws drive straight and true.
Frequently Asked Questions
How much weight can floating shelves hold?
It depends on the brackets and the mount. Quality hidden brackets screwed into studs typically hold 25–50 lbs per shelf. Brackets held only by drywall anchors hold much less — usually 10–15 lbs. Always check your specific bracket’s rating and anchor into studs for anything heavy like books.
Do I have to drill into studs?
For the most secure mount, yes — at least one stud per bracket is strongly recommended. If your layout absolutely can’t hit a stud, use heavy-duty toggle-style drywall anchors rated for the weight, and keep the shelf lightly loaded.
What’s the best wood for floating shelves?
Pine is the best choice for beginners: affordable, easy to cut and sand, and it takes stain well. For a more premium look, oak or walnut are harder and more durable but cost significantly more. Avoid MDF for shelves that will hold real weight — solid wood is stronger and looks better.
How far apart should floating shelves be spaced?
12–18 inches apart works for most decor. Go toward 12 inches for a tight, modern stacked look with small items; 15–18 inches if you want room for taller items like vases or large plants. Always leave at least 12 inches of clearance above the top shelf.
Shop This Build
Everything for this project in one place — click any item to find it on Amazon:
Shelves & hardware
- Hidden floating shelf brackets (3 sets)
- 1×8 pine boards
- Wood screws assortment
- Heavy-duty drywall anchors
- Sandpaper assortment (120 & 220 grit)
- Wood stain
- Painter’s tape
Tools
- Stud finder
- Cordless power drill/driver
- 24-inch level
- Tape measure
- Foam brush / stain applicator
- Safety glasses
As an Amazon Associate I earn from qualifying purchases.
Happy building! If you put up floating shelves, I’d love to hear how they turned out — drop a comment below.
Leave a Reply