We cook, eat, and often gather with family and friends in the kitchen. But over time, our kitchens can start to feel a bit tired and outdated. Fortunately, there are numerous ways to give your kitchen a fresh look without breaking the bank, and one of the easiest and most impactful projects is installing a stick-on backsplash. In this blog post, we’ll guide you through the process of transforming your kitchen with a peel-and-stick backsplash installation.
Why Choose a Stick-On Backsplash?
Before we delve into the step-by-step process, let’s discuss why stick-on backsplashes are a fantastic option:
- Simplicity: Peel-and-stick backsplashes are incredibly user-friendly. You don’t need extensive DIY skills or tools to complete this project.
- Affordability: Stick-on backsplashes are cost-effective, making them an excellent choice for those on a budget who still want to enhance their kitchen’s appearance.
- Versatility: These backsplashes come in a wide range of designs, colors, and materials, allowing you to find the perfect fit for your kitchen style.
- Easy Maintenance: Cleaning is a breeze. Unlike painted walls, peel-and-stick backsplashes can be wiped clean with minimal effort.
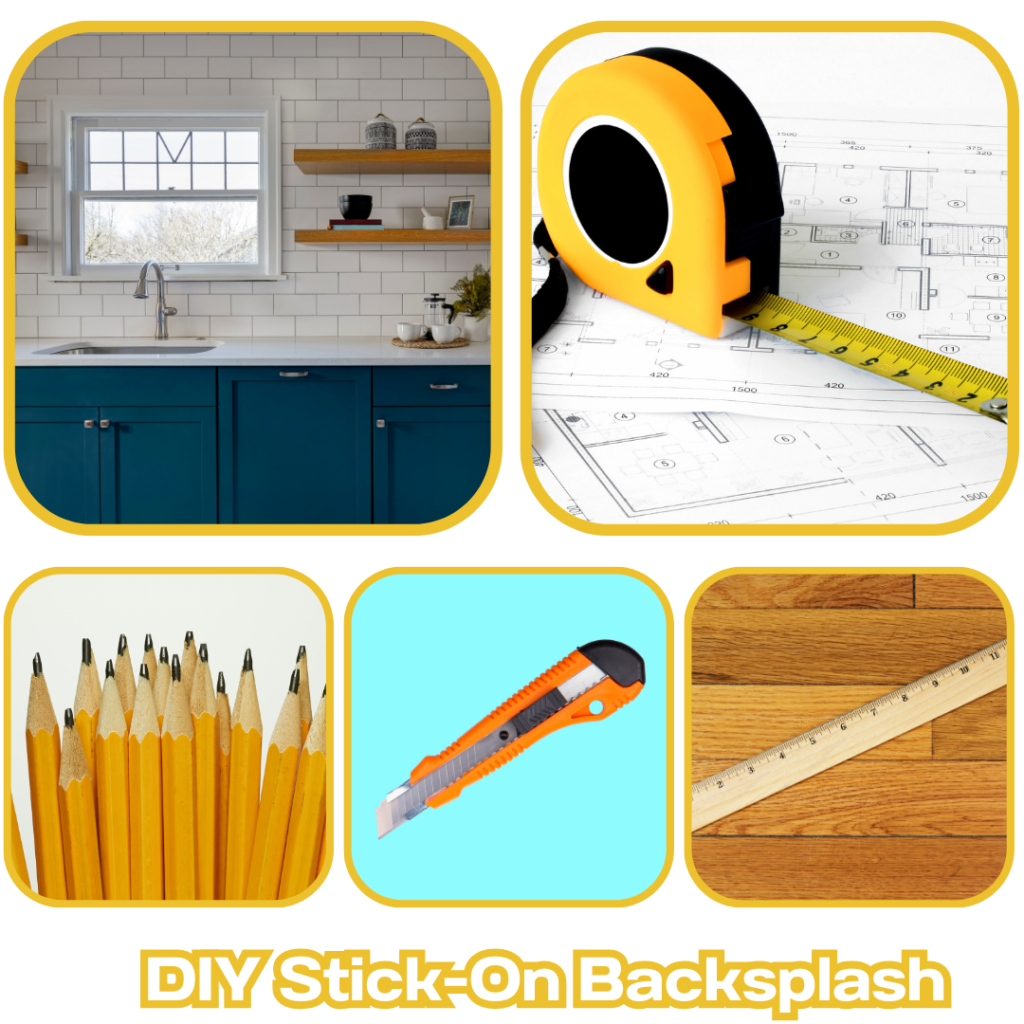
Materials and Tools You’ll Need
Let’s start by gathering the materials and tools necessary for this project:
Materials:
**All links below are Paid Links**
- Peel-and-stick backsplash tiles or sheets
- Measuring tape
- A pencil
- Scissors
- Straight edge or ruler
- Level
- Clean, dry cloth
- Spatula (for smoothing out air bubbles)
- Caulk (optional, for finishing touches)
Step-by-Step Installation Guide
1. Measure Your Space:
- Begin by measuring the area where you plan to install the stick-on backsplash. Take precise measurements to ensure an accurate fit.
2. Clean and Prepare:
- Clean the wall thoroughly to remove any dust, grease, or debris. This step is essential for proper adhesion.
- If you have any loose or peeling paint, consider scraping and patching the wall.
3. Start at the Center:
- Find the center point of your wall, both horizontally and vertically, and mark it with a pencil. This will serve as your starting point.
4. Begin Applying Tiles:
- Peel the backing off your first tile or sheet.
- Align the tile’s top or edge with your center point and press it firmly onto the wall.
- Use a clean cloth to smooth out the tile, eliminating any air bubbles.
5. Continue the Pattern:
- Work outward from the center, adding one tile or sheet at a time.
- Ensure tiles are aligned properly both horizontally and vertically.
- Use your level to check for straight lines.
6. Cut Tiles as Needed:
- When you reach the edges or corners, you may need to trim the tiles to fit. Use your straight edge and scissors or a utility knife to make precise cuts.
7. Finish the Edges:
- If your stick-on backsplash doesn’t include edge pieces, consider using caulk to create a clean, finished look along the edges and corners.
8. Step Back and Admire:
- Once you’ve installed all the tiles, take a step back and admire your beautifully transformed kitchen. You’ve just completed a quick and easy DIY project with remarkable results.
Enjoy Your Updated Kitchen
With your stick-on backsplash in place, your kitchen will have a fresh and vibrant look. This DIY project is perfect for those looking to refresh their space without the hassle of a major renovation. Enjoy your newly updated kitchen, and don’t be surprised if you find yourself spending even more time in this inviting and stylish space.
Leave a Reply