As an Amazon Associate I earn from qualifying purchases. This post contains affiliate links — if you buy through them, I may earn a small commission at no extra cost to you.
Store-bought bath bombs are fun, but they are pricey for something that disappears in one bath — and you never quite know what is in them. Making your own is cheaper, surprisingly easy, and a perfect first DIY beauty project: no power tools, no special skills, just measuring, mixing, and molding. You end up with spa-worthy bath bombs you can use yourself or wrap up as gifts.
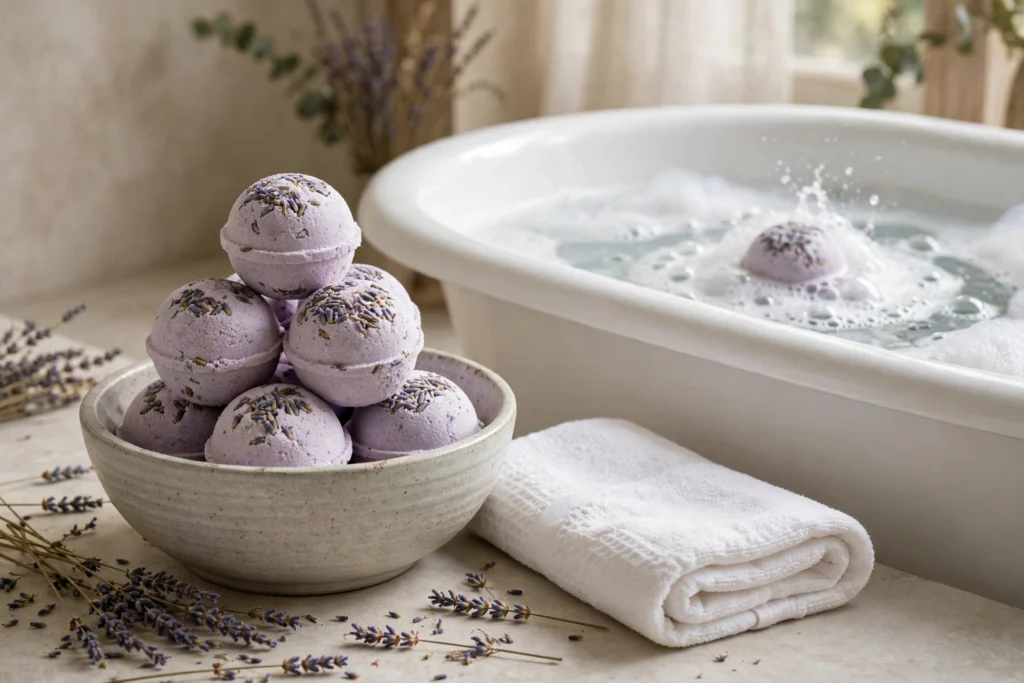
In this guide, I’ll walk you through making 6 round lavender bath bombs — fizzing, lightly scented, and gentle on skin, thanks to coconut oil and Epsom salt.
Skill level: Beginner
Make time: About 30–45 minutes of hands-on work (plus 24 hours of drying time)
Estimated cost: $20–$35 for your first batch, including reusable molds — later batches cost just a few dollars
Why Make Your Own Bath Bombs?
Bath bombs work on simple chemistry: baking soda and citric acid stay quiet while dry, then fizz when they hit water. That fizz releases the scent and oils into the bath. When you make them yourself, you control the scent strength, the color, and the extras — no mystery dyes, no overpowering perfume, and no paying $8 for a single bomb. They also make wonderful handmade gifts: a set of six in a jar or a cellophane bag looks like it came from a boutique.
Materials
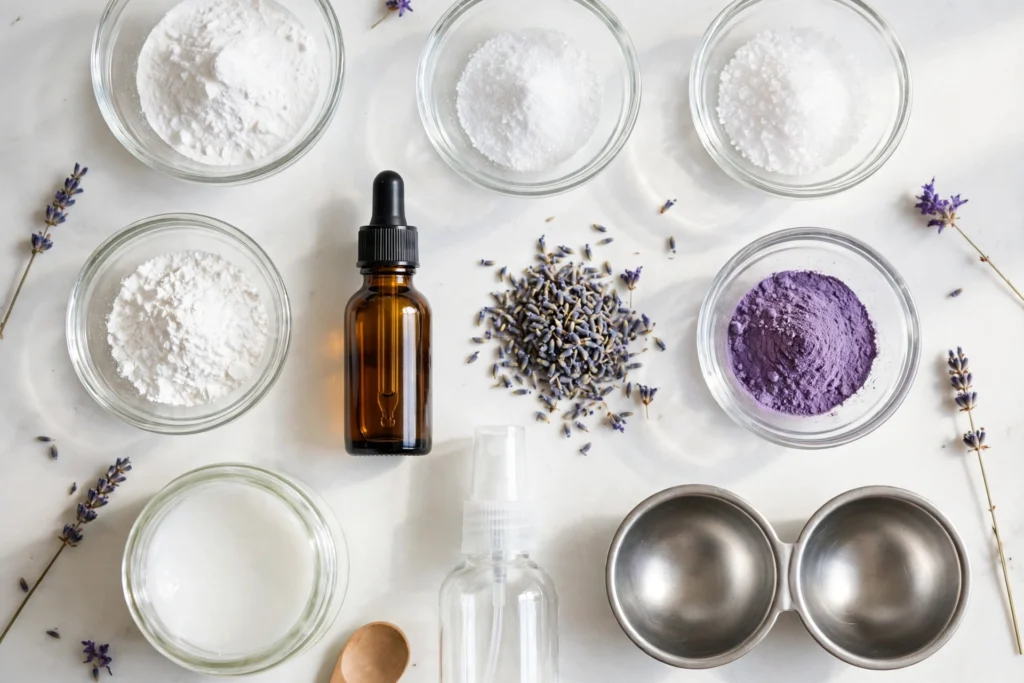
Here’s everything you’ll need for 6 round bath bombs (about 2.5 inches each):
- Baking soda (1 cup) — shop baking soda on Amazon. The base of the fizz.
- Citric acid (1/2 cup) — shop citric acid for bath bombs on Amazon. This is the ingredient that makes bath bombs fizz — look for food-grade powder.
- Epsom salt (1/2 cup, fine grain) — shop Epsom salt on Amazon. Adds a soothing soak and a little texture.
- Cornstarch (1/2 cup) — shop cornstarch on Amazon. Helps the bomb hold together and slows the fizz so it lasts longer.
- Coconut oil (2 tablespoons, melted) — shop coconut oil on Amazon. Moisturizes skin and binds the mixture. Sweet almond oil works too.
- Lavender essential oil (15–20 drops) — shop lavender essential oil on Amazon. Start with less if you prefer a lighter scent.
- Skin-safe mica powder, purple (1–2 teaspoons) — shop mica powder for bath bombs on Amazon. Gives the bombs their color without staining the tub.
- Dried lavender buds (1–2 tablespoons, optional) — shop dried lavender buds on Amazon. For decorating the tops — use sparingly so they don’t clog the drain.
- Witch hazel or water, in a spray bottle — shop spray bottles on Amazon. Just a few spritzes bring the mixture together. Witch hazel is preferred because it evaporates faster.
- Bath bomb molds, round (2.5-inch, set of 6 or more) — shop bath bomb molds on Amazon. Metal molds give the crispest spheres; silicone molds work too and are easier for kids.
Tools
- Large mixing bowl — shop mixing bowls on Amazon.
- Whisk — shop whisks on Amazon for breaking up lumps in the dry mix.
- Measuring cups and spoons — shop measuring cups and spoons on Amazon.
- Small bowl for the wet ingredients.
- Spoon or spatula for stirring.
- Parchment-lined baking sheet for drying the finished bombs.
- Gloves (optional) — shop disposable gloves on Amazon if you don’t want purple hands from the mica.
Step-by-Step Instructions
Step 1: Mix the Dry Ingredients
In a large bowl, whisk together the baking soda, citric acid, Epsom salt, and cornstarch until completely combined. Break up any lumps — lumps in the dry mix become weak spots in the finished bomb. If your Epsom salt is coarse, pulse it in a blender first so it mixes evenly.
Step 2: Mix the Wet Ingredients
In a small bowl, stir together the melted coconut oil, lavender essential oil, and mica powder. The mica will tint the oil a deep purple — that color will spread through the whole batch in the next step. If you want a two-tone bomb, divide the dry mix in half now and color each half separately.
Step 3: Combine — Slowly!
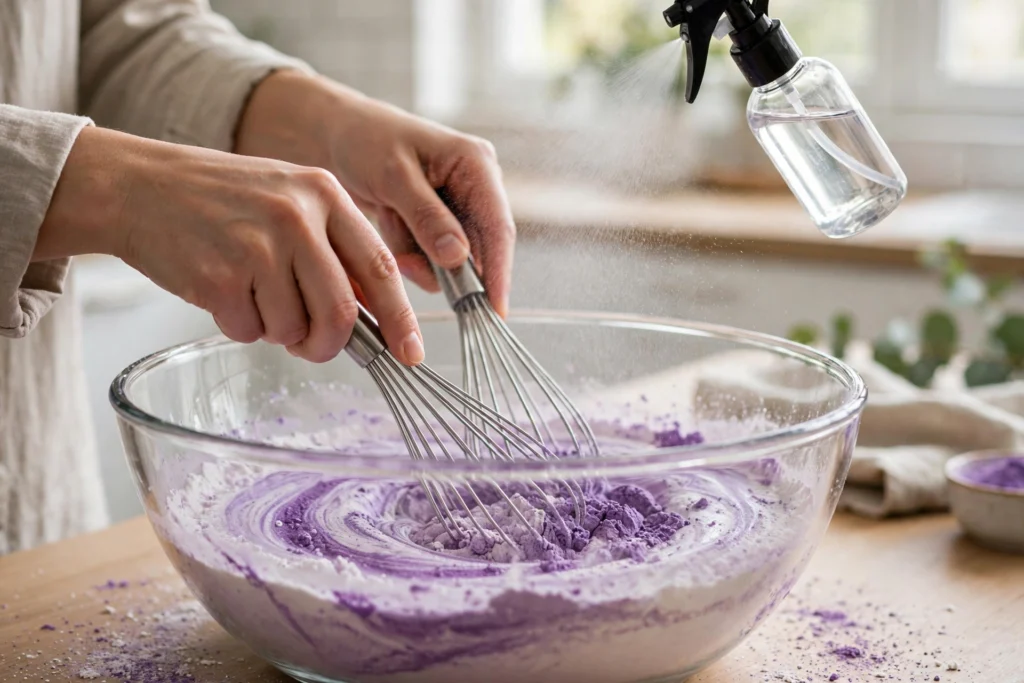
This is the step that makes or breaks your bath bombs. Drizzle the wet mixture into the dry mixture a little at a time, whisking constantly. Then spritz with witch hazel, one spray at a time, whisking between sprays. You’re aiming for the texture of damp sand: when you squeeze a handful, it should hold its shape without crumbling, but it should not feel wet. Stop spritzing the moment it holds together — too much liquid starts the fizzing reaction early, and your bombs will expand, crack, or go flat.
Tip: If the mixture starts fizzing in the bowl, stop adding liquid immediately and mix faster. A tiny bit of fizz is fine; a bowl full of foam means you’ve added too much.
Step 4: Pack the Molds
Sprinkle a pinch of dried lavender buds into one half of a mold if you want a decorated top. Then overfill both halves of the mold with mixture, mounding it slightly above the rim. Press the two halves together firmly and twist gently to lock them. Don’t open the mold yet — let the bomb sit in the mold for 2–3 minutes so it starts to set.
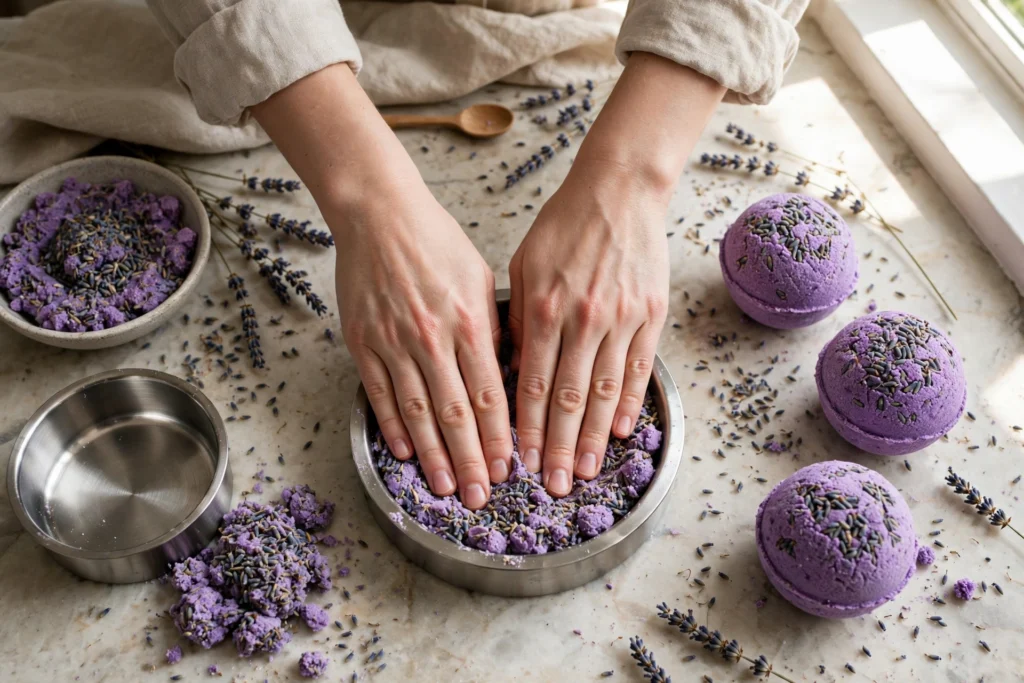
Tip: Pack firmly but don’t crush. A loosely packed bomb crumbles; an over-packed bomb can crack as it expands. Firm, even pressure — like packing a snowball — is the sweet spot.
Step 5: Unmold and Dry
Gently tap the mold and lift off one half, then the other. Set the bomb on a parchment-lined baking sheet. If a bomb cracks or crumbles at this stage, just crumble it back into the bowl, add one spritz of witch hazel, and re-pack it — nothing is wasted. Let the bombs dry undisturbed for at least 24 hours in a dry room (not a steamy bathroom). They should feel hard and dry to the touch before you store or use them.
Step 6: Store and Enjoy!
Drop one bomb into a warm bath and watch it fizz. Store the rest in an airtight container or jar in a cool, dry place — moisture in the air is the enemy, and an unsealed bomb will slowly lose its fizz over a few weeks. Use within 2–3 months for the best fizz and scent.
Tips for Success
- Humidity matters. Make bath bombs on a dry day if you can. On a humid day, the mixture absorbs moisture from the air and can start fizzing or expanding in the mold. A dehumidified room, or working quickly, helps.
- Less liquid is more. The number one beginner mistake is adding too much witch hazel or water. Damp sand, not wet sand — when in doubt, stop spritzing.
- Go easy on the extras. A few lavender buds on top look beautiful, but a bomb packed with botanicals can leave debris in the tub and clog drains. Keep the extras on the surface, not mixed through.
- Patch-test new scents. If you have sensitive skin, or you’re trying a new essential oil, test a small amount on your inner arm first. Skip essential oils entirely for young children and use plain, unscented bombs instead.
- Rinse the tub after. Mica color and coconut oil can leave a light film. A quick rinse after your bath keeps the tub clean and slip-free.
Gift Ideas
Bath bombs are one of the easiest handmade gifts to make look expensive:
- Spa jar: Stack 3–4 bombs in a glass jar with a ribbon and a handwritten tag.
- Gift bag: Wrap each bomb in tissue paper or cellophane, tie with twine, and add a dried lavender sprig.
- Custom scents: Swap the lavender for eucalyptus and mint (a wake-up blend), rose, or vanilla — just keep the same base recipe and adjust the essential oil.
Frequently Asked Questions
Why did my bath bombs crumble?
Almost always, the mixture was too dry when packed. Next time, add witch hazel one spritz at a time until a squeezed handful holds together. Also check that you packed the molds firmly — a loose pack falls apart on unmolding.
Why did my bath bombs expand or crack while drying?
Too much liquid, or too much humidity. The citric acid started reacting before the bomb set. Use less liquid next time, work on a drier day, and make sure the bombs dry in a dry room — not the bathroom.
Are homemade bath bombs safe for sensitive skin?
For most people, yes — the base ingredients are gentle. But essential oils can irritate sensitive skin, so use a lighter hand with scent, patch-test first, and skip fragrance for children. If you have eczema or a skin condition, check with your doctor before adding essential oils.
Will mica powder stain my bathtub?
Skin-safe, bath-safe mica in the small amounts used here should rinse away cleanly. Avoid craft glitter or non-cosmetic colorants, which can stain and are not meant for skin. Rinse the tub after each bath to be safe.
How long do homemade bath bombs last?
Stored airtight in a cool, dry place, they keep their fizz for about 2–3 months. After that they’re still safe to use, but the fizz gets weaker and the scent fades.
Can I make bath bombs without citric acid?
Citric acid is what creates the fizz — without it, you get a bath melt, not a bath bomb. It will still smell lovely and soften the water, but it won’t bubble. Citric acid is inexpensive and widely available, so it’s worth picking up a bag.
Shop This Build
Everything for this project in one place — click any item to find it on Amazon:
Materials
- Baking soda
- Citric acid powder (food-grade)
- Epsom salt (fine grain)
- Cornstarch
- Coconut oil
- Lavender essential oil
- Skin-safe mica powder (purple)
- Dried lavender buds
- Small spray bottle
- Round bath bomb molds
Tools
As an Amazon Associate I earn from qualifying purchases.
Happy making! If you try these bath bombs, I’d love to hear how they turned out — drop a comment below.
Leave a Reply