
As an Amazon Associate I earn from qualifying purchases. This post contains affiliate links — if you buy through them, I may earn a small commission at no extra cost to you.
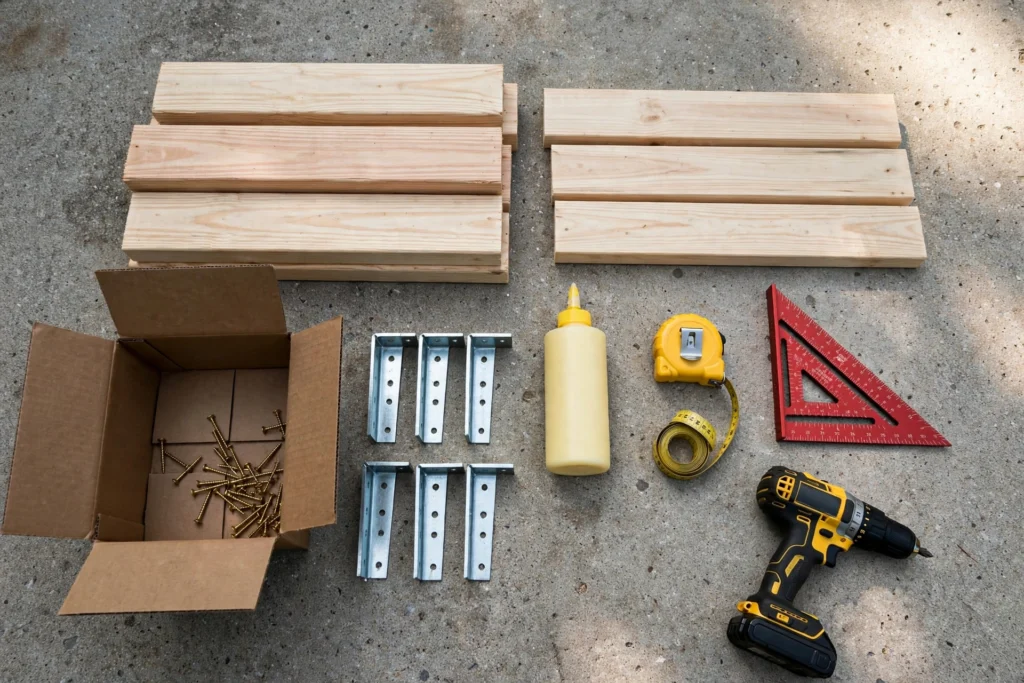
If you’ve ever repotted a plant hunched over on the patio floor, soil spilling everywhere, you know the struggle. A potting bench changes all that: a dedicated workstation at a comfortable standing height, with room for your pots, soil, and tools — all within arm’s reach.
In this guide, I’ll walk you through building a classic freestanding potting bench — 4 feet wide with a 36-inch-high worktop (comfortable for most adults), a lower storage shelf, and an upper shelf with hooks for hanging your hand tools. It’s a straightforward weekend build with simple straight cuts, and it looks great in any garden corner.
Skill level: Beginner
Build time: 4–6 hours (one weekend afternoon)
Estimated cost: $80–$140 depending on lumber prices in your area
Why Build a Potting Bench?
Beyond saving your back, a potting bench keeps the messy part of gardening contained. Soil, fertilizer, and water stay in one spot instead of migrating across your patio. The lower shelf holds bags of soil and big pots, the upper shelf keeps small pots and seed trays handy, and hooks keep your trowel and pruners from disappearing into the garden bed. Once you have one, you’ll wonder how you gardened without it.
Materials
Here’s everything you’ll need for one potting bench (48″ wide x 24″ deep, 36″ worktop height, upper shelf at ~58″):
- 5 – 2″ x 4″ x 8′ boards — shop 2x4x8 lumber on Amazon. These become the four legs, the aprons, and the stretchers. Choose the straightest boards you can find — sight down each one like a rifle barrel.
- 7 – 1″ x 6″ x 8′ boards — shop 1x6x8 boards on Amazon. Cedar is the premium pick for outdoor furniture (naturally rot-resistant); standard pine works fine if you seal it well. These form the worktop slats, lower shelf, and upper shelf.
- 2-1/2″ exterior wood screws (about 60–70) — shop exterior wood screws on Amazon. Coated or stainless, rated for outdoor use so they won’t rust and stain the wood.
- 4 – heavy-duty L shelf brackets, 8-inch — shop heavy duty shelf brackets on Amazon. These support the upper shelf — look for a pair rated to at least 50 lbs each.
- S-hooks, stainless steel (pack of 10–20) — shop S hooks on Amazon. These hang from the upper shelf edge or a dowel for your hand tools.
- Outdoor wood sealer (1 quart is plenty) — shop outdoor wood sealer on Amazon. Protects the bench from rain and sun. Apply two coats.
- Wood glue (exterior/waterproof, optional but recommended) — shop waterproof wood glue on Amazon. Adds serious strength to every joint.
Cut list (have the lumber yard make these cuts, or cut them yourself in Step 2):
From the 2x4s:
- 4 legs at 36″
- 2 front/back aprons at 45″
- 2 side aprons at 21″
- 2 lower stretchers at 45″
- 2 upper back posts at 62″ (these extend above the worktop to hold the upper shelf)
From the 1x6s:
- 5 worktop slats at 48″
- 4 lower shelf slats at 45″
- 2 upper shelf boards at 48″
Tools
- Cordless power drill/driver — shop cordless drills on Amazon
- Circular saw (or have the lumber yard make your cuts) — shop circular saws on Amazon
- Tape measure — shop tape measures on Amazon
- Carpenter’s square / speed square — shop speed squares on Amazon
- 4-foot level — shop levels on Amazon
- Clamps (2 is plenty) — shop bar clamps on Amazon
- Orbital sander or sandpaper (80 and 120 grit) — shop orbital sanders on Amazon
- Paintbrush or stain applicator — shop stain brushes on Amazon
- Work gloves — shop work gloves on Amazon
- Safety glasses — shop safety glasses on Amazon
Step-by-Step Instructions
Step 1: Pick Your Spot and Prep
Choose a level spot near your garden beds — you’ll be hauling soil and plants to this bench all season, so make the trip short. A spot with partial shade is ideal (full sun makes potting miserable in summer). Clear the area and make sure the ground is reasonably flat; you’ll level the bench itself later.
Step 2: Make Your Cuts
Work through the cut list above. Label each piece with a pencil as you go — “leg,” “apron,” “slat” — because a pile of similar-looking 2x4s gets confusing fast.
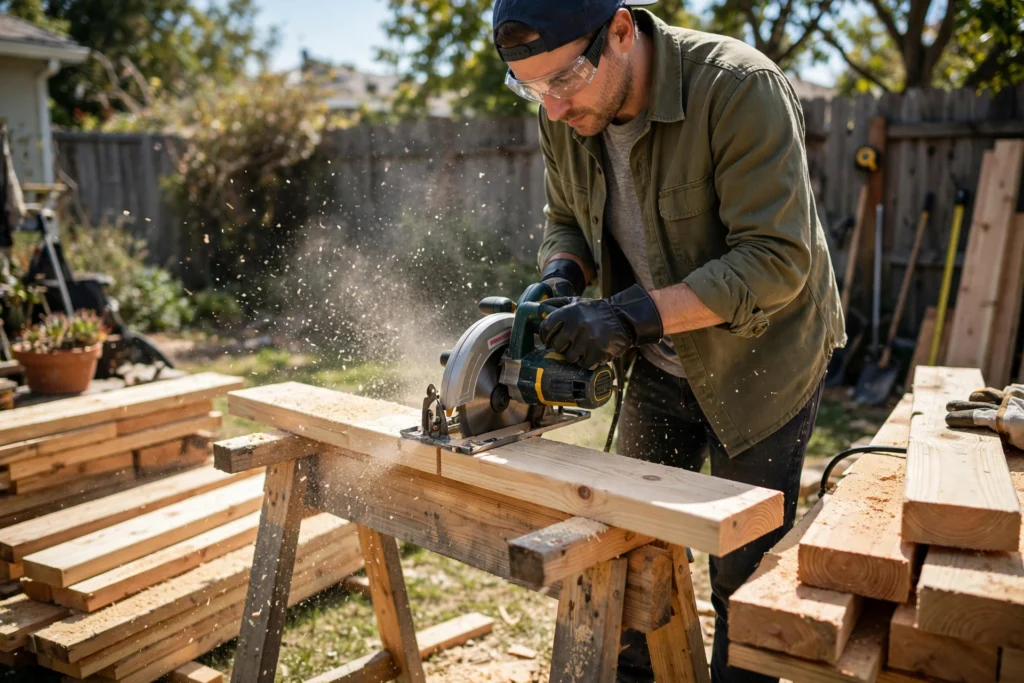
No saw? No problem. Most home improvement stores will make these straight cuts for free or a small fee when you buy the lumber — just hand them the cut list.
Safety first: wear your safety glasses and gloves, and measure twice, cut once.
Step 3: Build the Two Side Frames
Each side frame is made from two 36″ legs connected by a 21″ side apron near the top (flush with the top of the legs) and a lower side piece at about 10″ off the ground.
- Lay two legs parallel on your work surface, 21″ apart (outside to outside).
- Position the side apron between them at the top, flush with the leg tops. Apply a dab of waterproof wood glue, clamp it, and drive two 2-1/2″ screws through each leg into the apron end.
- Repeat with the lower side piece at 10″ up from the bottom.
- Build the second side frame the same way.
Use your square to check that each frame is square before the glue sets.
Step 4: Connect the Frames
Stand the two side frames upright and connect them with the 45″ front and back aprons at the top, and the two 45″ lower stretchers at 10″ off the ground — mirroring what you did in Step 3. Glue and screw every joint with two screws per connection.
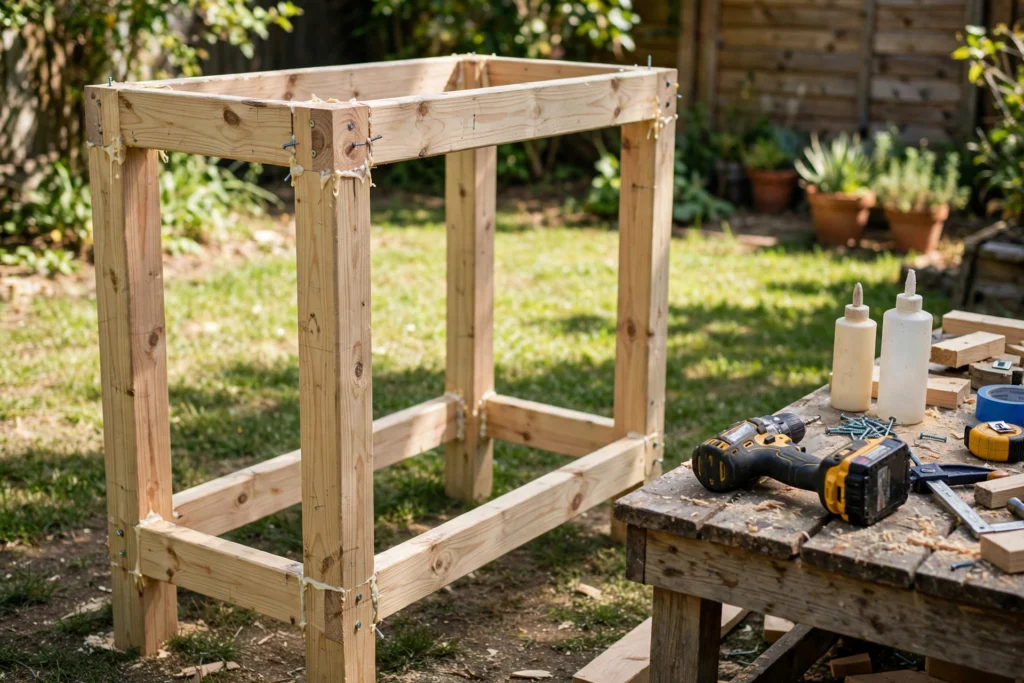
Set the frame on flat ground and check for wobble. If it rocks, one leg is long — mark the high leg, flip the bench, and trim or sand it down until the frame sits solid.
Step 5: Install the Worktop
Lay the five 48″ worktop slats across the top frame, spacing them with roughly 1/4-inch gaps between boards (a pencil makes a perfect spacer). The gaps let water and spilled soil fall through instead of pooling. Center the slats so they overhang the frame by about 1-1/2″ on each end.
Screw each slat down with two screws into each apron it crosses. Work from one side to the other, keeping the gaps even as you go.
Step 6: Add the Lower Shelf
Lay the four 45″ lower shelf slats across the lower stretchers with small gaps, just like the worktop. Screw them down with two screws per slat per stretcher. This shelf is perfect for bags of potting soil and bulky pots — it’s low, so heavy items stay stable.
Step 7: Attach the Upper Posts, Shelf, and Hooks
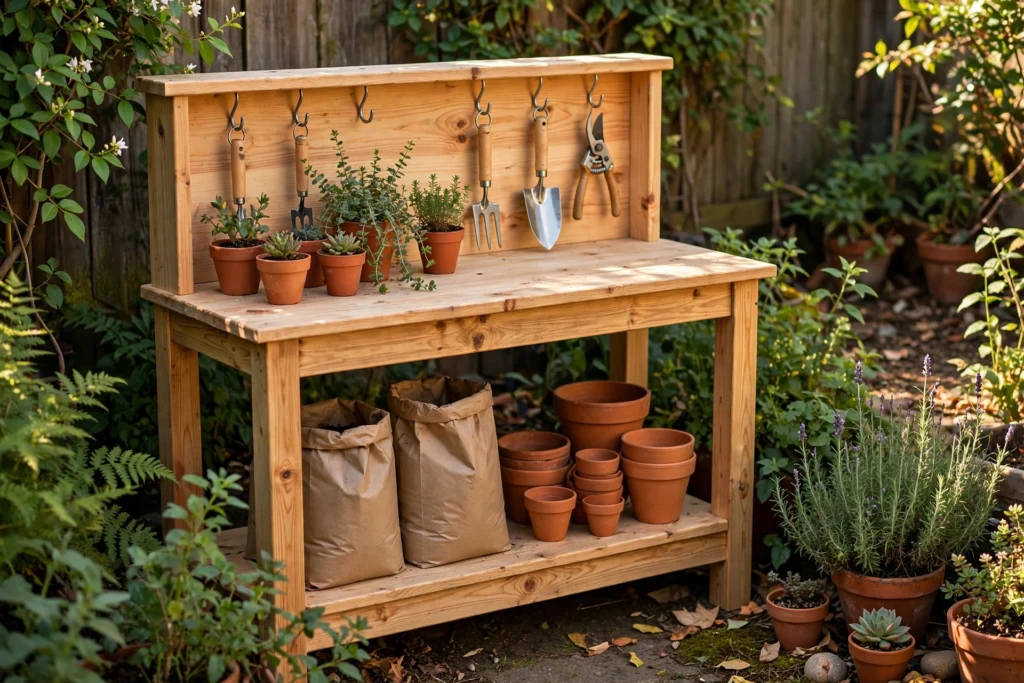
- Screw the two 62″ back posts to the inside of the back legs, extending upward from the worktop. They should sit flush against the back apron — glue and use three screws each for a rock-solid connection.
- Mount two heavy-duty L brackets on the posts at about 56–58″ high (roughly 20″ above the worktop — enough clearance for gallon pots underneath).
- Set the two 48″ upper shelf boards on the brackets and screw them down from underneath.
- Hang your S-hooks along the front edge of the upper shelf for trowels, pruners, and twine.
Step 8: Sand and Seal
Sand every surface with 80-grit, then 120-grit — pay extra attention to the worktop edges and corners where hands will be. Wipe off the dust with a damp cloth and let it dry.
Apply two coats of outdoor wood sealer, letting the first coat dry fully before the second. This is what stands between your bench and five years of rain — don’t skip it. If you used pine, the sealer is non-negotiable; if you splurged on cedar, it still extends the life and keeps the color rich.
Tips for Success
- Pick straight lumber. A warped 2×4 will fight you at every joint. Sight down each board at the store and reject the bananas.
- Pre-drill near board ends. Exterior screws are tough, but driving one 1″ from the end of a 1×6 without a pilot hole is asking for a split. A quick pilot hole takes seconds.
- Mind the worktop height. 36″ suits most adults. If you’re notably taller or shorter, adjust the leg length before you cut — you’ll spend hours at this bench.
- Leave the gaps. Tight-fitting slats look tidy on day one and become a soggy, rotting mess by year two. Those 1/4″ gaps are drainage.
- Anchor it if it’s windy. A potting bench is top-heavy when loaded. In exposed spots, drive a stake behind each back leg and screw the bench to it.
- Re-seal yearly. One maintenance coat of sealer each spring takes 20 minutes and doubles the bench’s life.
Frequently Asked Questions
What is the best wood for a potting bench?
Cedar is the gold standard — naturally rot-resistant and beautiful — but it costs more. Standard pine or fir works fine for a bench that’s sealed well and re-sealed yearly. Avoid old pressure-treated lumber of unknown age for anything near edibles.
What height should a potting bench be?
36 inches is the sweet spot for most adults — the same as a kitchen counter. If several people will use it, stick with 36″ rather than customizing to one person’s height.
Can a potting bench stay outside year-round?
Yes, if it’s built from exterior-rated materials and sealed. Elevate the legs slightly off wet ground (a paver under each leg works), keep it out of standing water, and re-seal once a year.
How much weight can the upper shelf hold?
With 8-inch heavy-duty brackets rated at 50+ lbs per pair, the upper shelf comfortably holds small pots, seed trays, and hand tools — roughly 30–40 lbs total. Keep the heavy bags of soil on the lower shelf, close to the ground.
Do I really need the upper shelf?
No — the bench works fine without it, and skipping it saves an hour. But the upper shelf plus hooks is what turns a table into a workstation: tools visible, pots within reach, worktop clear for actual potting.
Shop This Build
Everything for this project in one place — click any item to find it on Amazon:
Lumber & hardware
- 2x4x8 lumber boards (5)
- 1x6x8 boards (7) — cedar for rot resistance, or pine + sealer
- 2-1/2″ exterior wood screws
- Heavy-duty 8″ L shelf brackets
- Stainless steel S-hooks
- Waterproof exterior wood glue
- Outdoor wood sealer
Garden extras for your new bench
Tools
- Cordless power drill/driver
- Circular saw
- Tape measure
- Speed square
- 4-foot level
- Bar clamps
- Orbital sander
- Stain brush / applicator
- Work gloves
- Safety glasses
As an Amazon Associate I earn from qualifying purchases.
Happy building! If you make this potting bench, I’d love to hear how it turned out — drop a comment below.
Leave a Reply