
As an Amazon Associate I earn from qualifying purchases. This post contains affiliate links — if you buy through them, I may earn a small commission at no extra cost to you.

There’s nothing quite like picking dinner from your own backyard. If you’ve been thinking about starting a vegetable garden, a raised bed is the perfect first project: it’s beginner-friendly, you can build it in a single weekend, and it gives your plants the loose, rich soil they love.
In this guide, I’ll walk you through building a classic 4 ft x 8 ft x 12 in cedar raised garden bed — the most popular size for a reason. It’s big enough to grow a serious amount of food, but narrow enough that you can reach the middle from either side without stepping on the soil.
Skill level: Beginner
Build time: 3–4 hours (plus soil filling)
Estimated cost: $150–$250 depending on lumber prices in your area
Why Cedar?
Cedar is the gold standard for raised beds. It’s naturally rot-resistant (no chemical treatments needed, so it’s safe for growing food), it looks beautiful, and a cedar bed will last 10–15 years.
Materials
Here’s everything you’ll need for one 4×8 ft bed:
- 6 – 2″ x 6″ x 8′ cedar boards — shop cedar 2×6 lumber on Amazon. Four boards form the long sides (stacked two high); two boards get cut in half for the short ends.
- 1 – 4″ x 4″ x 8′ cedar post — shop cedar 4×4 posts on Amazon. Cut into four 12-inch corner posts.
- 3″ exterior wood screws (about 50–60) — shop exterior wood screws on Amazon.
- Landscape fabric — shop landscape fabric on Amazon.
- Garden staples / landscape pins (about 20) — shop garden staples on Amazon.
- Raised bed soil mix — about 32 cubic feet — shop raised bed soil mix on Amazon.
Tools
- Cordless power drill/driver — shop cordless drills on Amazon
- Circular saw — shop circular saws on Amazon
- Tape measure — shop tape measures on Amazon
- 4-foot level — shop levels on Amazon
- Carpenter’s square — shop carpenter squares on Amazon
- Shovel — shop garden shovels on Amazon
- Wheelbarrow — shop wheelbarrows on Amazon
- Work gloves — shop gardening gloves on Amazon
- Safety glasses — shop safety glasses on Amazon
Step-by-Step Instructions
Step 1: Pick the Perfect Spot
Choose a location that gets 6–8 hours of direct sunlight per day. Keep it reasonably close to a water source, and pick ground that’s fairly level.
Step 2: Prep the Site
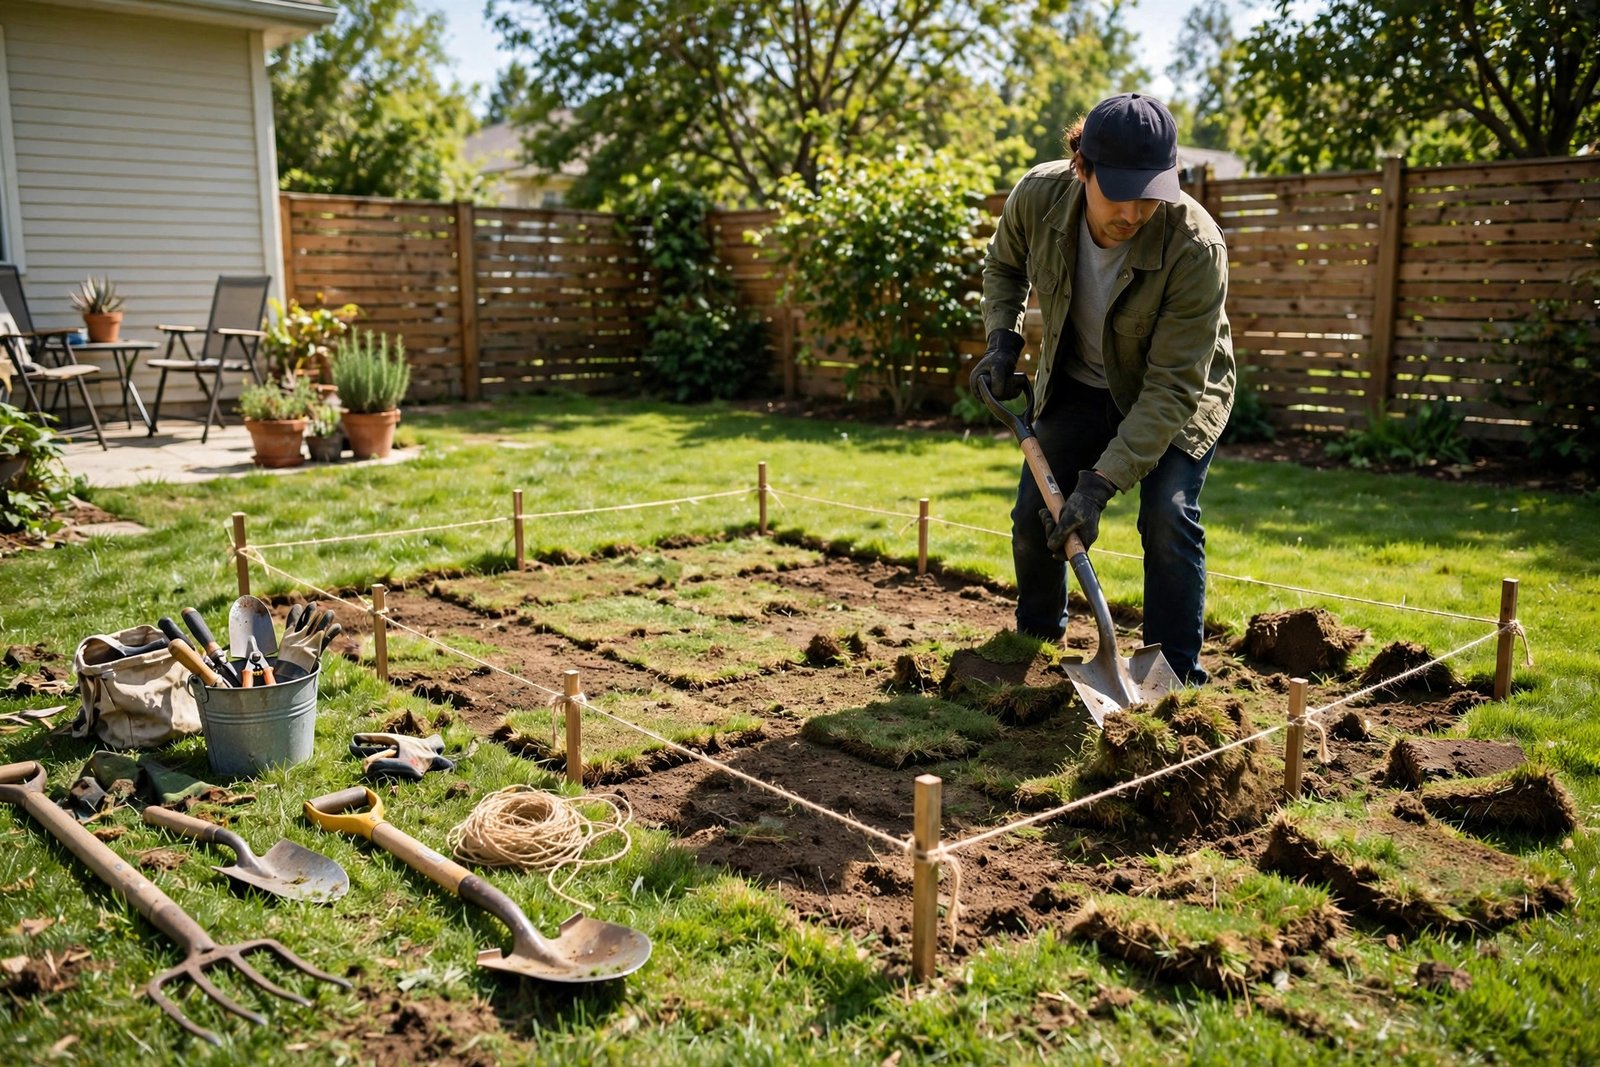
Mark out a 4×8 ft rectangle with stakes and string. Use your shovel to strip away grass and weeds inside the outline, going about 4–6 inches deep. Rake the area smooth.
Step 3: Cut Your Boards
From your six 2x6x8 cedar boards: leave four boards at 8 ft (the long sides) and cut two boards in half to make four 4 ft boards (the short ends). Cut the 4×4 post into four 12-inch pieces for the corner posts. No saw? No problem. Most home improvement stores will make these simple cuts when you buy the lumber.

Safety first: wear your safety glasses and gloves, and measure twice, cut once.
Step 4: Assemble the Frame
- Lay two 8 ft boards on edge, one on top of the other, to form one long side. Stand a 12-inch corner post inside each end.
- Drive 3-inch exterior screws through the boards into the post — two screws per board per post. Pre-drill your holes first; cedar splits easily.
- Repeat for the second long side.
- Connect the two long sides with the 4 ft end boards, screwing them into the corner posts the same way. Use your carpenter’s square to check each corner is square as you go.

Step 5: Set and Level the Bed
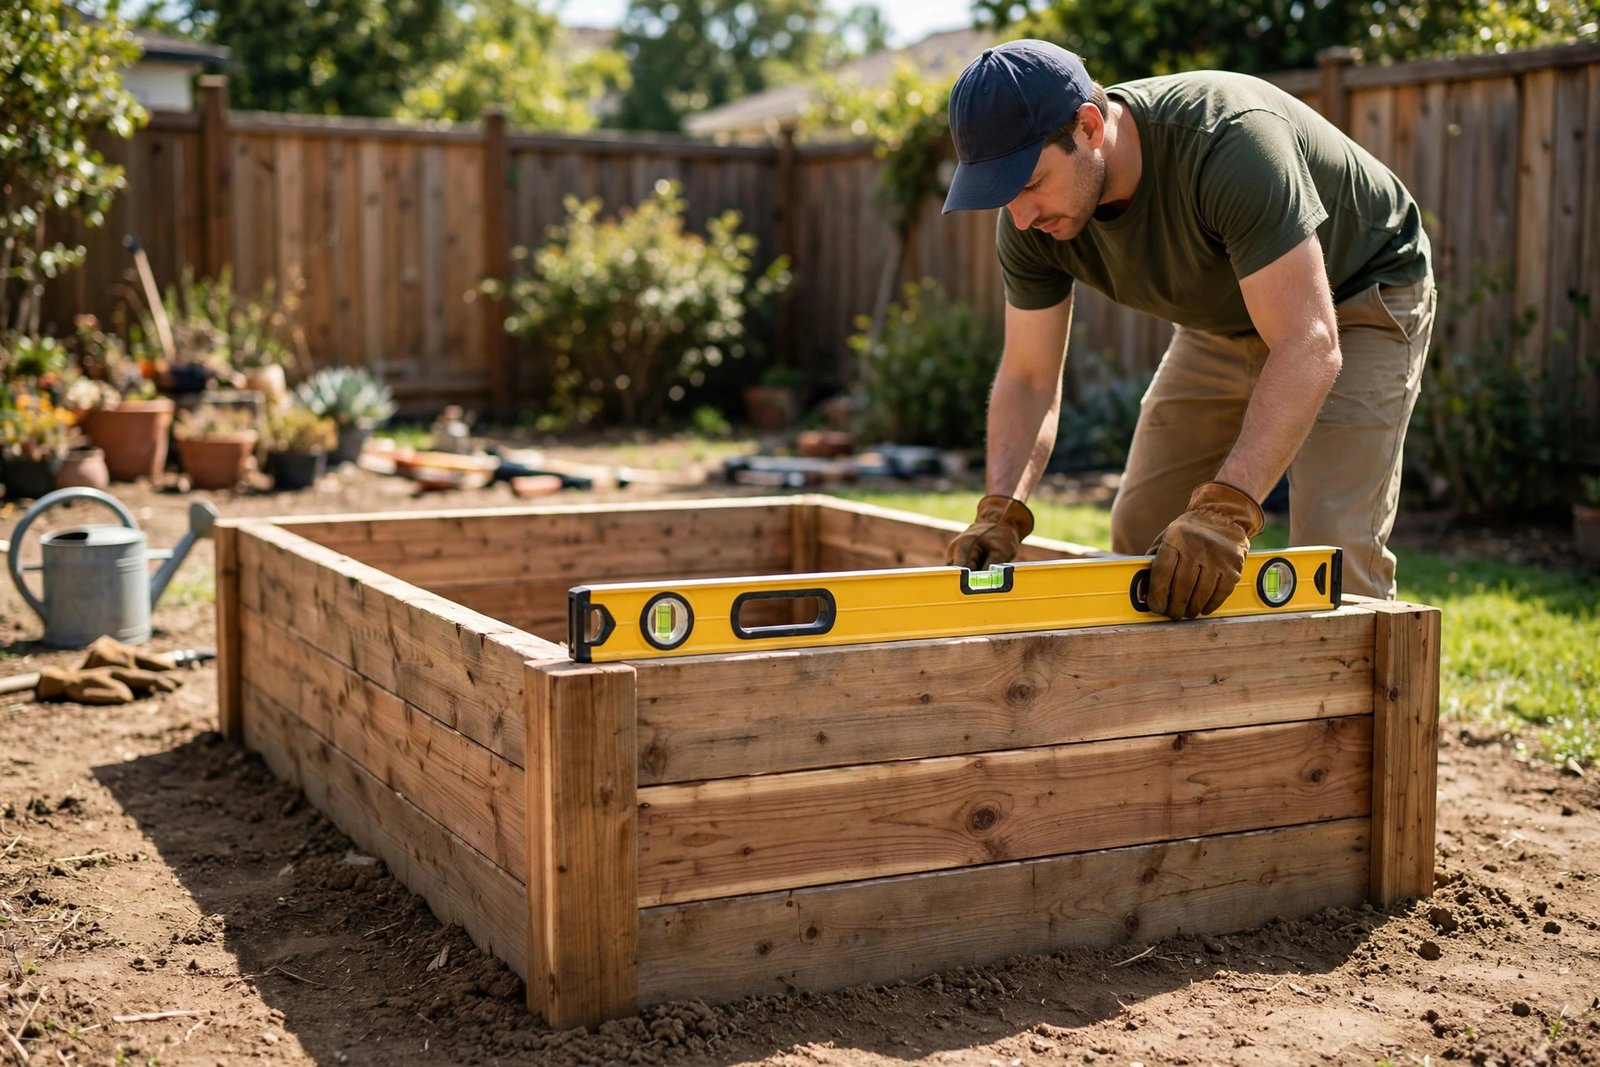
Carry the frame to your prepared site and set it in place. Lay your 4-foot level across the top edges and check side to side and end to end. Scrape away or add soil underneath until the frame sits level.
Step 6: Line with Landscape Fabric
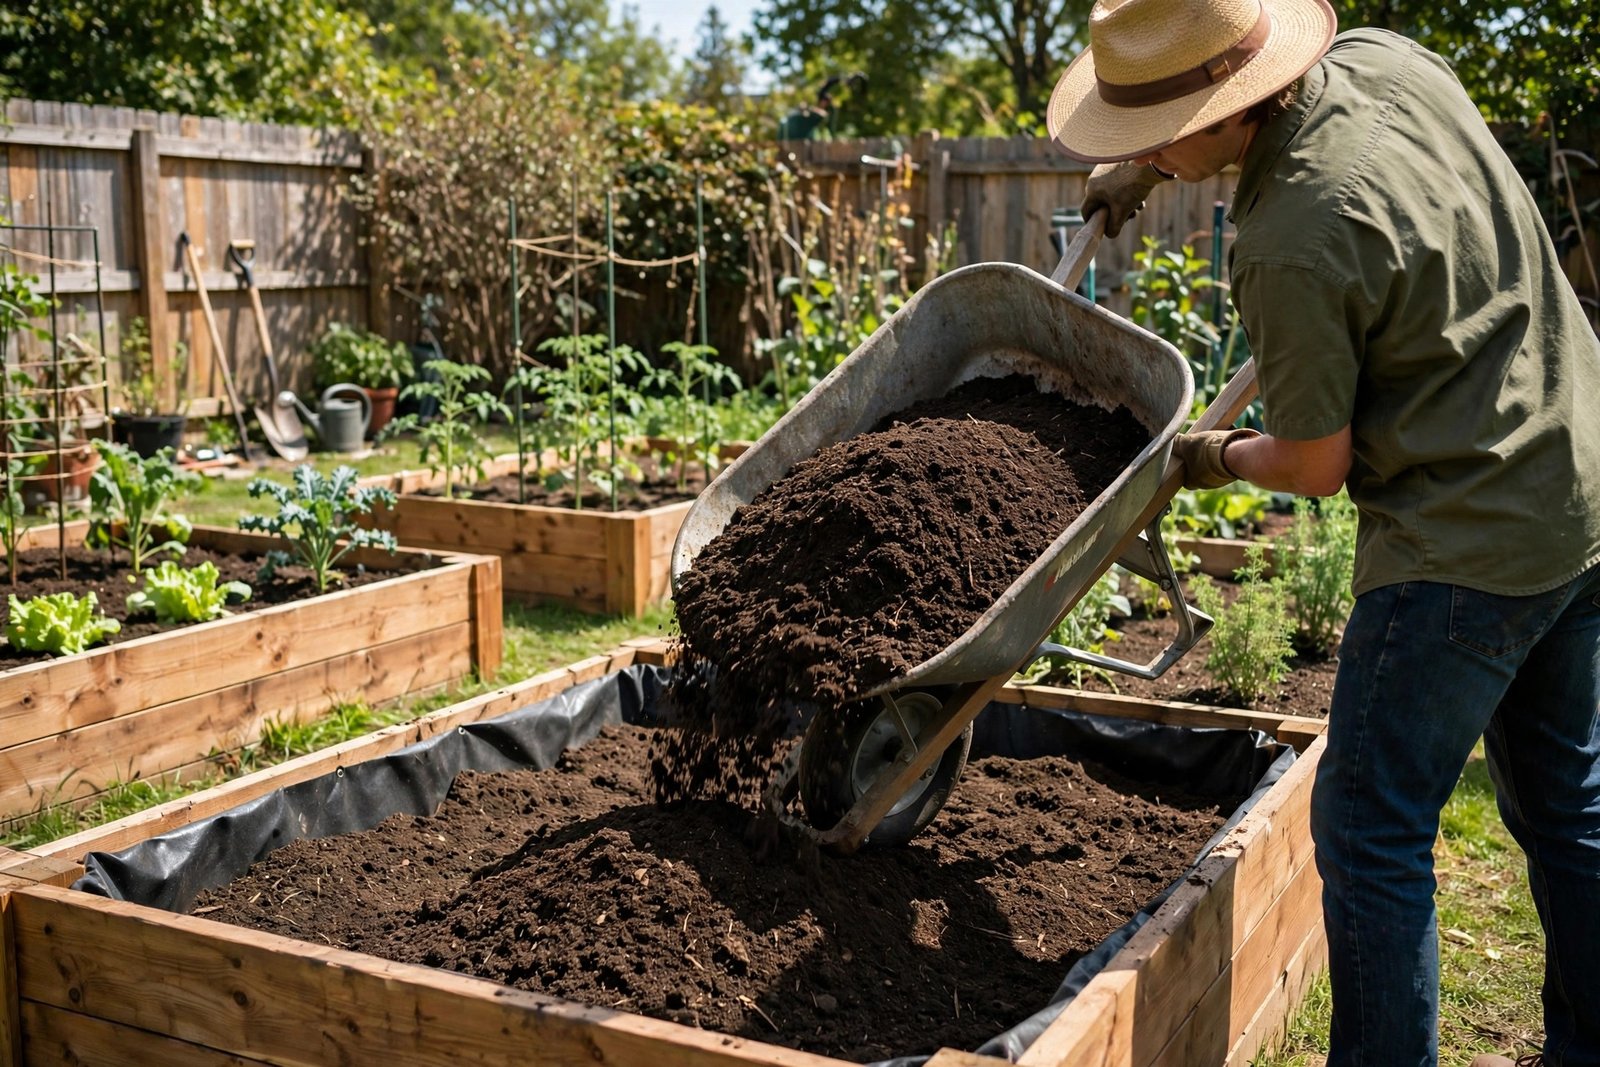
Roll your landscape fabric across the bottom of the bed, letting it run a few inches up the inside walls. Trim the excess and pin it down with garden staples.

Step 7: Fill with Soil
Fill the bed with your raised bed soil mix, watering lightly every few inches as you go to settle it. Fill to about 1–2 inches below the top edge of the boards.
Step 8: Plant!
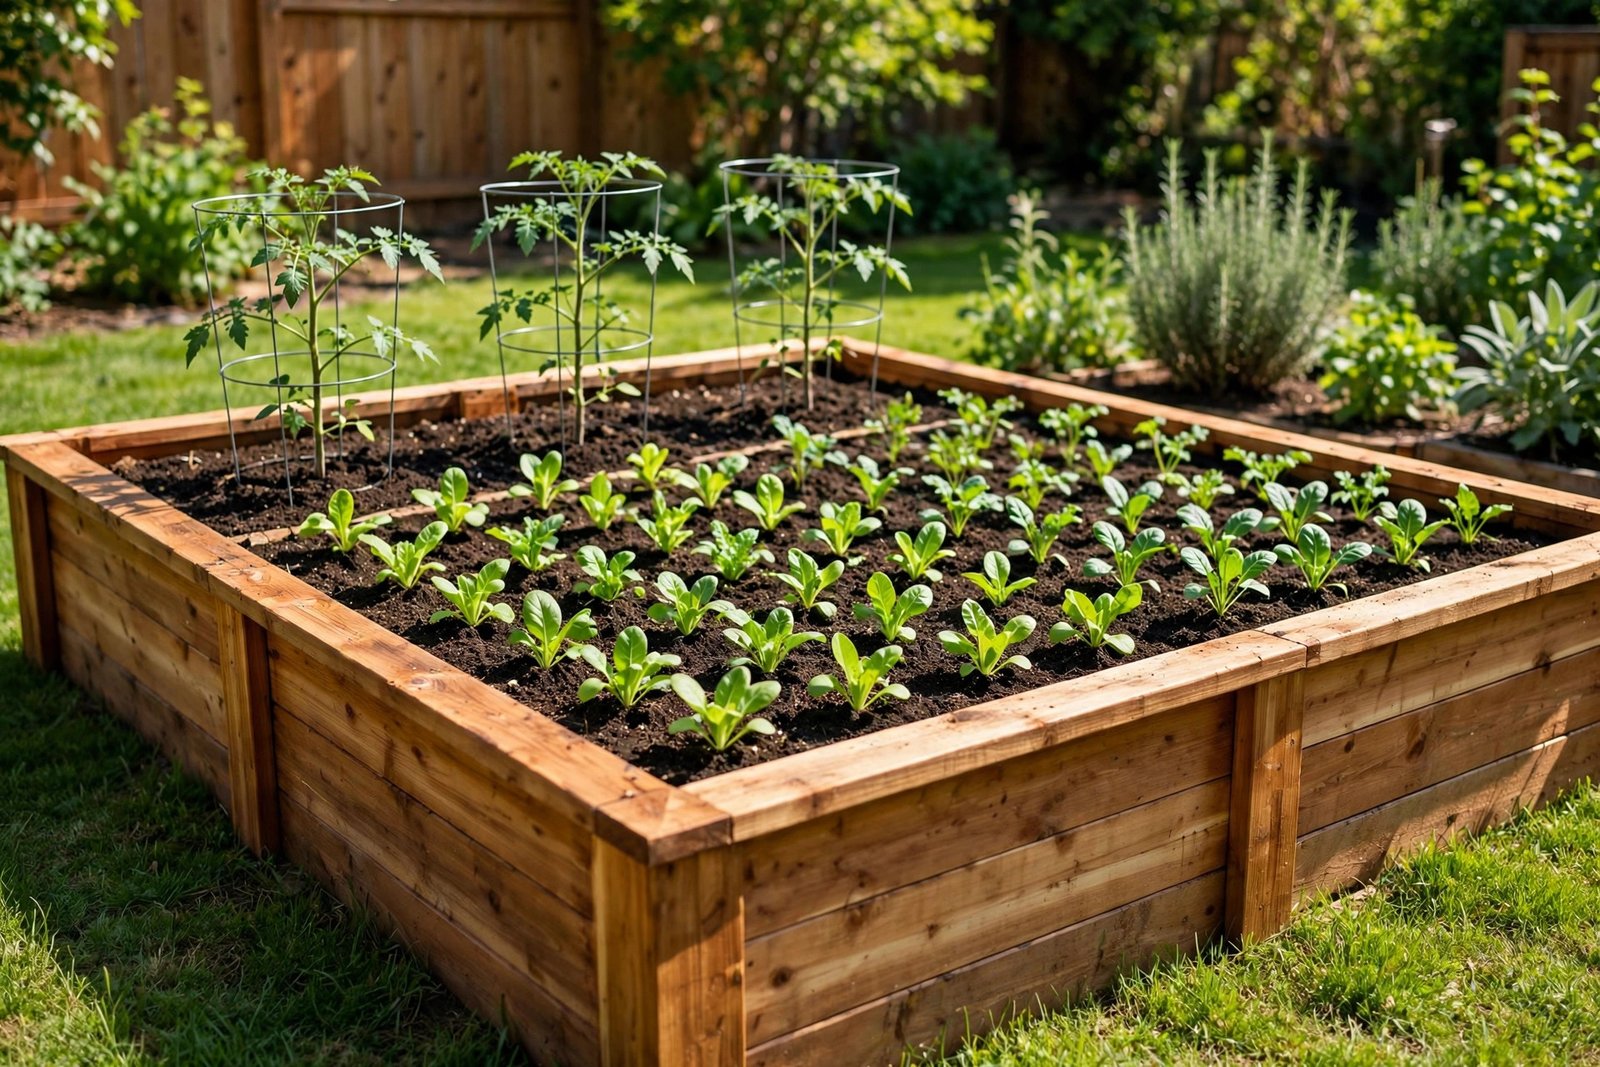
Wait a day or two for the soil to settle, top it off if needed, and then plant! Great beginner crops: tomatoes, peppers, lettuce and salad greens, bush beans, and herbs like basil, parsley, and cilantro. Water deeply after planting, add 2–3 inches of mulch on top, and you’re officially a raised bed gardener.
Tips for Success
- Pre-drill every screw hole. Cedar is soft and splits if you drive screws in dry.
- Orient the bed north–south so tall plants don’t shade shorter ones.
- Mulch the top with straw or shredded leaves to keep moisture in and weeds out.
- Rotate your crops each season.
Frequently Asked Questions
How deep should a raised garden bed be? 12 inches is the sweet spot for most vegetables.
What is the cheapest wood for a raised bed? Untreated pine is cheapest but rots in 2–3 seasons. Cedar costs more upfront but lasts 10–15 years — the best value.
How much soil do I need for a 4×8 raised bed? About 32 cubic feet — roughly twenty-two 1.5 cu ft bags, or one cubic yard in bulk.
Shop This Build
Everything for this project in one place — click any item to find it on Amazon:
Lumber & hardware
Cedar 2x6x8 boards (6)
Cedar 4×4 post (1)
3″ exterior wood screws
Landscape fabric / weed barrier
Garden staples / landscape pins
Raised bed soil mix
Tools
Cordless power drill/driver
Circular saw
Tape measure
4-foot level
Carpenter’s square
Garden shovel
Wheelbarrow
Gardening gloves
Safety glasses
As an Amazon Associate I earn from qualifying purchases.
Happy building! If you make this bed, I’d love to hear how it turned out — drop a comment below.
Leave a Reply