
As an Amazon Associate I earn from qualifying purchases. This post contains affiliate links — if you buy through them, I may earn a small commission at no extra cost to you.
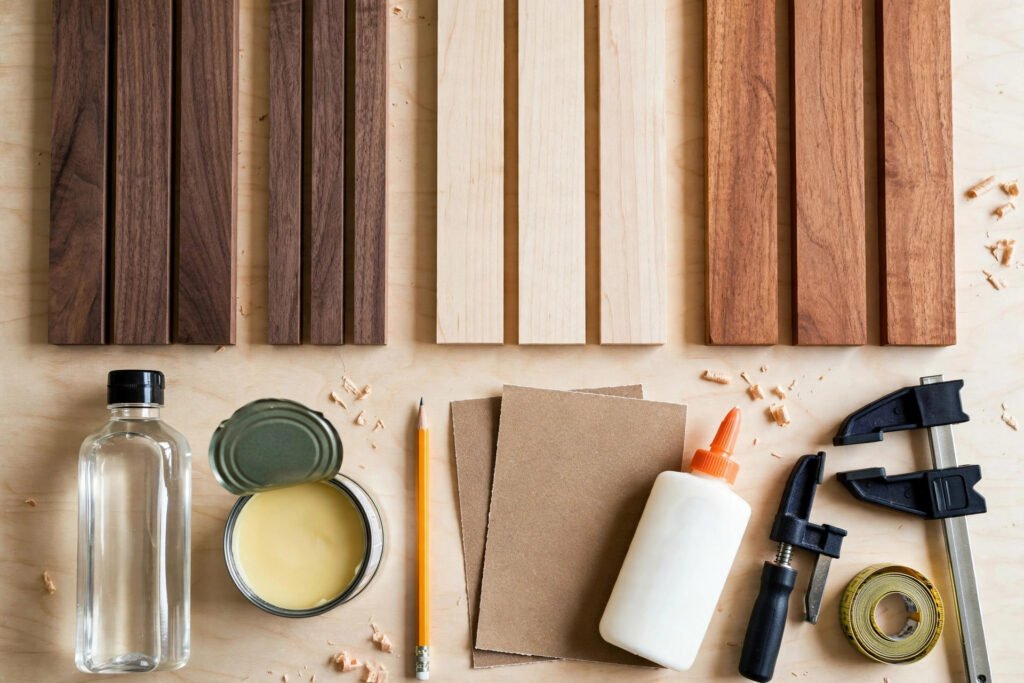
A handmade wooden cutting board is one of the most satisfying beginner woodworking projects out there. It looks beautiful on the counter, it actually gets used every single day, and it makes a fantastic gift. Best of all, the technique is simple: glue strips of hardwood edge to edge, sand them smooth, and finish with food-safe oil. No fancy joinery, no expensive machinery.
In this guide, I’ll walk you through building a classic 12″ x 18″ striped edge-grain cutting board from walnut, maple, and cherry — the three-wood combo that gives you that gorgeous contrast stripe look.
Skill level: Beginner
Build time: 2–3 hours of hands-on work (plus glue drying and oil curing time)
Estimated cost: $40–$90, depending on the hardwood you choose
Why Edge-Grain?
Cutting boards come in two main styles: edge-grain and end-grain. End-grain boards (where you see the cut ends of the wood) are gorgeous and self-healing, but they take more steps and more tools. Edge-grain boards show the long side of the wood grain, are much simpler to build, and still last for years with basic care. For a first board, edge-grain is the way to go — you get a beautiful result with just glue, clamps, and sandpaper.
Materials
Here’s everything you’ll need for one 12″ x 18″ board:
- Hardwood strips — shop hardwood cutting board strips on Amazon. You’ll need roughly 5–6 board feet total: e.g. 2 walnut strips, 2 maple strips, and 1–2 cherry strips, each about 1″ thick x 1.5–2″ wide x 20″ long (you’ll trim to final size). Buy pre-milled strips if you don’t have a planer — it saves a whole step.
- Food-safe wood glue (Titebond III or similar waterproof PVA) — shop food-safe wood glue on Amazon. Must be waterproof and FDA-approved for indirect food contact once cured.
- Food-grade mineral oil — shop food-grade mineral oil on Amazon for the initial finish soak.
- Board butter / butcher block conditioner (mineral oil + beeswax blend) — shop butcher block conditioner on Amazon for the protective top coat.
- Sandpaper assortment (80, 120, and 220 grit) — shop sandpaper on Amazon.
- Painter’s tape — shop painter’s tape on Amazon for marking your cut line.
Tools
- 2 bar clamps (at least 24″ long) — shop bar clamps on Amazon. These hold the glue-up tight while it dries.
- Circular saw or handsaw — shop circular saws on Amazon for trimming the board to final length. A handsaw works fine for one board.
- Random orbital sander (optional but highly recommended) — shop random orbital sanders on Amazon. Hand-sanding works, but a sander makes the job far faster.
- Tape measure — shop tape measures on Amazon.
- Combination square or speed square — shop speed squares on Amazon for marking square cut lines.
- Pencil for marking.
- Clean lint-free cloths / shop rags — shop shop rags on Amazon for applying oil.
- Safety glasses — shop safety glasses on Amazon.
Step-by-Step Instructions
Step 1: Choose Your Strip Layout
Lay your hardwood strips side by side on the workbench and play with the arrangement until you like the pattern. A classic look: walnut – maple – cherry – maple – walnut, with the darker walnut on the outside edges. Alternate the grain direction (flip every other strip end-for-end) — this helps the finished board stay flat instead of cupping over time.
Tip: Number the strips lightly in pencil on the ends so you can reassemble them in the same order after gluing.
Step 2: Glue Up the Strips
Stand the strips on edge in your chosen order. Run a thin, even bead of food-safe wood glue along one face of each joint — every mating surface gets glue. Press the strips together, then clamp the whole panel with your bar clamps, one near each end. Tighten until you see a thin, even line of squeeze-out along every seam, then wipe the squeeze-out off with a damp cloth before it dries.
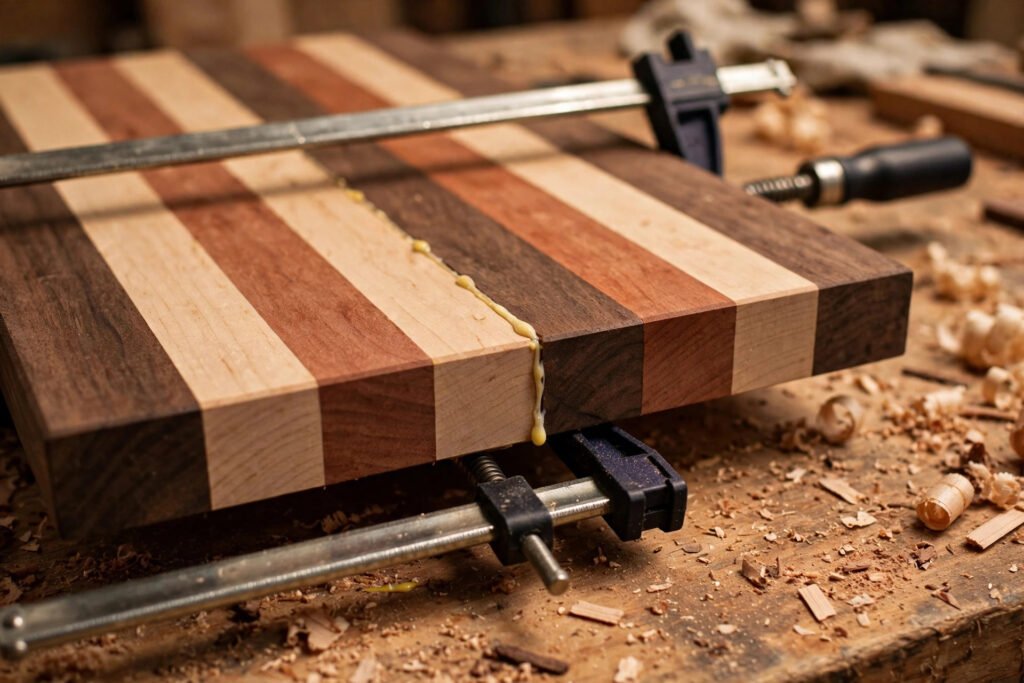
Why this matters: Even clamping pressure means no gaps between strips. If a strip slides up or down while clamping, tap it back flush with a mallet or the palm of your hand before the glue sets.
Step 3: Let the Glue Cure
Leave the panel clamped for at least 1–2 hours (check your glue bottle — Titebond III recommends 24 hours for full strength, but the panel is workable after a couple of hours). Don’t rush this step: cutting or sanding a half-cured glue-up can crack a joint. Use the wait time to tidy up and set up your sanding station.
Step 4: Trim to Final Size
Once the glue is cured, unclamp the panel and mark your final dimensions: 12″ wide x 18″ long (or whatever size you want). Use your speed square to mark square cut lines, then trim the ends with your saw. If you want a handle, now is the time to cut a small finger groove or rounded notch on one short end — a jigsaw makes this easy, or skip it for a clean rectangular board.
Tip: Always cut with the “show” face down if you’re using a circular saw — the saw’s teeth exit on the top, so any tear-out lands on the back face.
Step 5: Sand It Smooth
This is where the board starts to feel like a finished product. Sand both faces and all edges, working through the grits: 80-grit to level the joints and remove glue residue, then 120-grit to smooth, then 220-grit for a silky finish. Sand with the grain, not across it, and wipe off dust between grits with a damp cloth. Ease the sharp edges and corners with a few extra passes — a slightly rounded edge feels much better in the hand and is safer.
Tip: If you’re hand-sanding, wrap the sandpaper around a flat block of wood. It keeps your pressure even and the surface flat.
Step 6: Apply the Mineral Oil Finish
Now for the magic step. Flood the board with food-grade mineral oil — pour on a generous amount and spread it over every surface, including the edges and ends, with a clean cloth. Let it soak in for 4–6 hours (overnight is even better), then wipe off any excess. Dry wood drinks up a lot of oil on the first coat; a second coat after the first has soaked in is usually worth it.
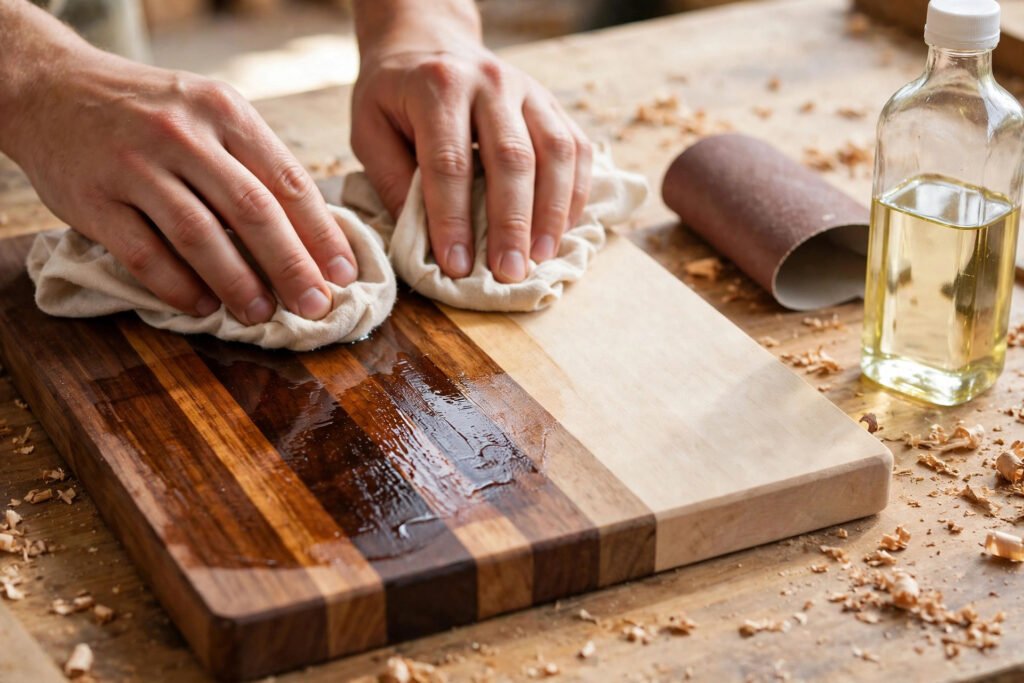
Important: Use only food-grade mineral oil (or a dedicated board oil) — never cooking oils like olive or vegetable oil. Cooking oils go rancid. Mineral oil never does.
Step 7: Seal with Board Butter
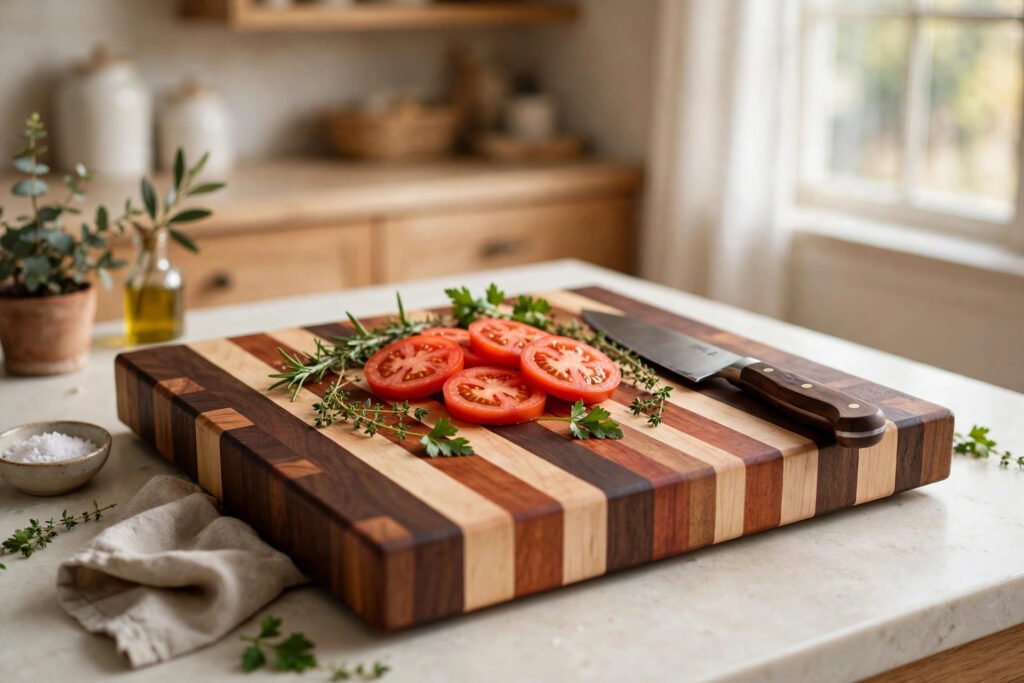
Once the oil has soaked in and the board feels dry to the touch, rub on a thin coat of butcher block conditioner (mineral oil + beeswax). The wax adds a light water-resistant barrier and gives the board a soft satin sheen. Let it sit for a few hours, then buff off the excess with a clean cloth. Your board is ready to use!
Tips for Success
- Use only food-safe materials. Hardwoods (walnut, maple, cherry) plus food-grade mineral oil and beeswax conditioner. Avoid softwoods like pine for cutting boards — they’re too soft and dent easily. Avoid exotic woods unless you’ve confirmed they’re food-safe; some (like rosewood) can cause reactions.
- Alternate the grain direction when laying out strips. Flip every other strip end-for-end so the growth rings curve in opposite directions — this fights cupping as the board absorbs and releases moisture.
- Don’t skip grits. Jumping from 80 straight to 220 leaves deep scratches that the fine paper can’t remove. Work through every grit in order.
- Oil both sides, even if you only cut on one. Finishing only one face invites warping — moisture enters the unfinished side faster.
- Re-oil monthly (or whenever the board looks dry or pale). A cutting board is a living finish: a few minutes of oiling keeps it beautiful for years.
Frequently Asked Questions
What is the best wood for a cutting board?
Hardwoods with tight, closed grain: walnut, hard maple, and cherry are the classic trio. They’re hard enough to resist knife marks, gentle enough not to dull your knives, and naturally beautiful. Avoid open-pored woods like oak (bacteria can hide in the pores) and softwoods like pine.
Is Titebond III really food-safe?
Yes — Titebond III is waterproof PVA glue that is FDA-approved for indirect food contact once fully cured, which is why it’s the standard choice for cutting boards. Let it cure fully (24 hours for full strength) before using the board.
How do I clean a wooden cutting board?
Scrape off food, wash with hot soapy water, rinse, and stand it on edge to air-dry. Never soak a wooden board and never put it in the dishwasher — both will crack and warp it. For stains or odors, rub with a cut lemon and coarse salt, then rinse.
How often should I re-oil my cutting board?
Whenever the wood looks dry, pale, or starts to feel rough — roughly once a month for a daily-use board. If water stops beading on the surface, it’s time for oil. A quick coat of board butter after oiling adds extra protection.
Can I make a cutting board without a planer or jointer?
Absolutely. Buy pre-milled hardwood strips (surfaced on all four sides) and the glue-up will come out flat enough to sand smooth by hand. That’s exactly the method in this guide — no jointer or planer needed.
Shop This Build
Everything for this project in one place — click any item to find it on Amazon:
Materials
- Hardwood cutting board strips (walnut, maple, cherry)
- Food-safe wood glue (Titebond III)
- Food-grade mineral oil
- Butcher block conditioner / board butter
- Sandpaper assortment (80, 120, 220 grit)
- Painter’s tape
Tools
- Bar clamps (24-inch)
- Circular saw
- Random orbital sander
- Tape measure
- Speed square
- Lint-free shop rags
- Safety glasses
As an Amazon Associate I earn from qualifying purchases.
Happy building! If you make a cutting board, I’d love to hear how it turned out — drop a comment below.
Leave a Reply