
As an Amazon Associate I earn from qualifying purchases. This post contains affiliate links — if you buy through them, I may earn a small commission at no extra cost to you.
Note: the photos in this post are AI-generated illustrations, not photos of a real workshop.
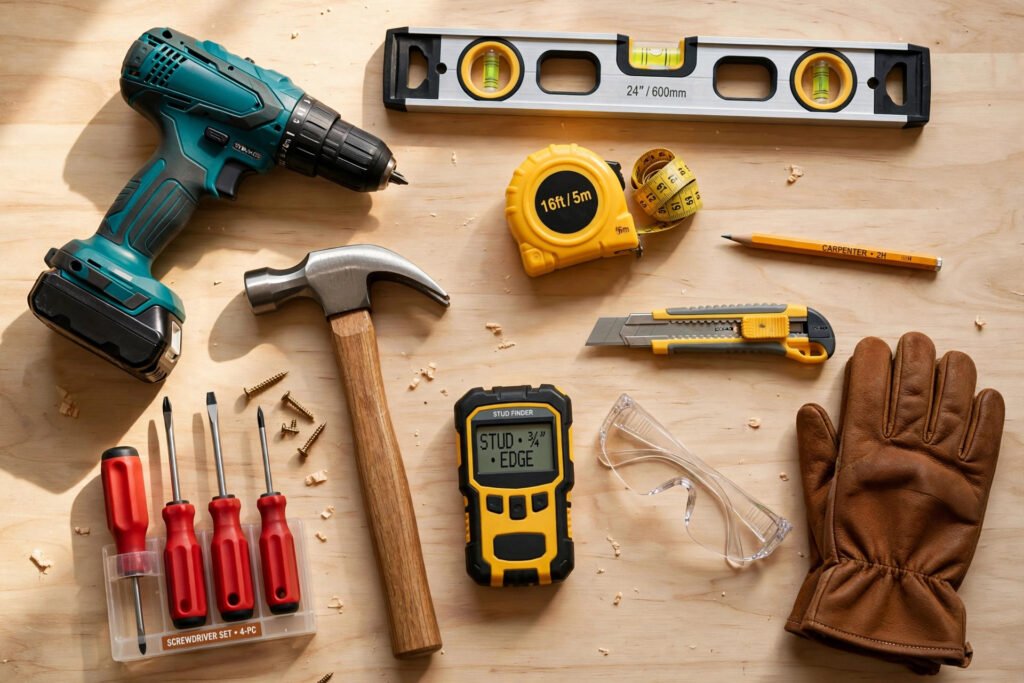
Every DIY journey starts the same way: staring at a project tutorial, realizing you own exactly one screwdriver, and wondering what on earth you actually need. Here’s the good news — you don’t need a garage full of tools to start building. Fifteen well-chosen tools will cover nearly every beginner project: hanging shelves, building planter boxes, assembling furniture, patching walls, and more.
This is the toolkit I’d hand a friend starting from zero: affordable, beginner-friendly, and the same list of tools I’ve used for every build on this site.
Skill level: Beginner
Budget: $150–$300 for the whole toolkit, depending on drill choice
Time to assemble: One weekend of shopping (or one Amazon order)
Drill, Drive, and Cut: The Power Basics
1. Cordless drill/driver
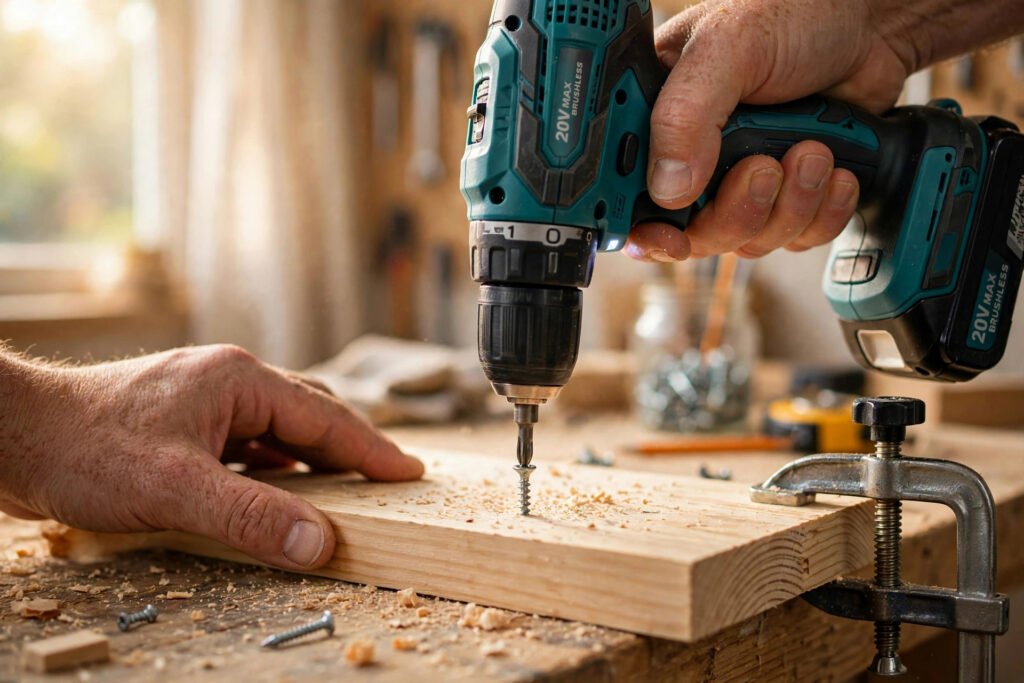
The single most important tool on this list. A cordless drill drills pilot holes, drives screws, and with the right bits can handle everything from IKEA furniture to deck boards. For beginners, a 12V or 20V drill/driver from a major brand is the sweet spot — plenty of power without the price or weight of a full-size drill.
Shop cordless drill/drivers on Amazon
How to choose: Pick a major battery platform (DeWalt, Ryobi, Milwaukee, Makita) and stick with it — you’ll be able to share batteries across future tools. For most home DIY, 12V is lighter and easier to handle; 20V gives you room to grow.
2. Drill bit set
A drill without bits is just a paperweight. A good titanium or black-oxide set with twist bits, masonry bits, and spade bits covers wood, drywall, and light metal. Look for a set with labeled sizes in a sturdy case.
Measure Twice, Cut Once
3. Tape measure (16 or 25 ft)
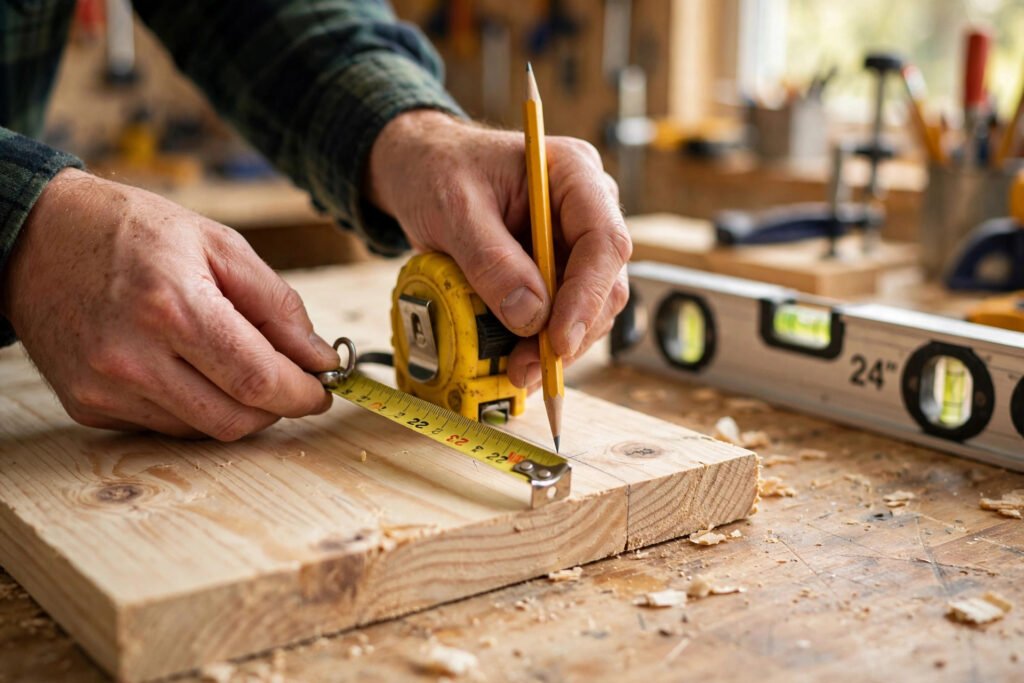
The rule of DIY: measure twice, cut once. A sturdy 16-foot tape measure with a wide blade (it “stands out” farther without collapsing) handles everything from hanging pictures to sizing lumber. Get one with a belt clip — you’ll use it constantly.
4. 24-inch spirit level
Floating shelves that sag, frames that tilt — almost always a missing level. A 24-inch level is the most versatile size for home projects: long enough to check shelves and small enough to fit in a toolbox.
5. Speed square
This little triangle of metal is the beginner’s best friend for marking straight 90° cuts, 45° angles, and square lines on lumber. It costs under $15 and saves you from crooked cuts forever.
6. Carpenter’s pencil (or marking pencil)
Regular pencils snap or roll away on rough lumber. Carpenter’s pencils are flat (they don’t roll), write on wood clearly, and cost next to nothing — grab a multi-pack.
Shop carpenter’s pencils on Amazon
Fastening and Fixing
7. 16 oz claw hammer
For driving and pulling nails, assembling frames, and gentle persuasion. A 16 oz fiberglass or steel-handle claw hammer is the all-purpose weight for home use — lighter than framing hammers, heavy enough to drive 16d nails.
8. Multi-bit screwdriver set
Skip the 100-piece set. A quality multi-bit ratcheting screwdriver with the common tips (Phillips #1/#2, flathead, Torx T15/T25) handles 95% of what you’ll face — and it replaces a whole drawer of single screwdrivers.
Shop ratcheting screwdriver sets on Amazon
9. Stud finder
If you hang one thing with this toolkit, you’ll use the stud finder. It locates wood studs behind drywall so your shelves, mirrors, and TVs actually stay on the wall. Electronic stud finders are cheap, easy to use, and worth every penny.
Beginner tip: Mark both edges of the stud and aim for the middle — sensors can read a bit wide on either side.
10. Retractable utility knife
For opening boxes, trimming shims, scoring drywall, and cutting everything from rope to packaging. Get one with a quick-change blade and keep spare blades on hand.
Sanding and Finishing
11. Sanding block + sandpaper assortment
Raw lumber is rough, and rough wood + paint = a bumpy mess. A sanding block (it holds the paper and gives even pressure) plus an 80/120/220 grit assortment covers rough shaping, smoothing, and pre-finish prep.
Shop sanding blocks and sandpaper assortments on Amazon
Quick guide: 80 grit removes material fast, 120 grit smooths, 220 grit preps for stain or paint.
12. Wood glue
The most underrated item on this list. A bottle of waterproof wood glue (Titebond III is the classic) makes joints dramatically stronger — use it on every wood joint alongside screws, and it’ll outlast the project itself.
13. Clamps (2-pack)
Glue without clamps is a wish. Two 6-inch bar or trigger clamps hold pieces tight while glue dries and act as a third hand when assembling. You’ll wonder how you ever built anything without them.
Safety and Storage
14. Safety glasses + work gloves
Unsexy but non-negotiable. Safety glasses protect against every speck of flying dust and debris, and work gloves save your hands from splinters and blisters. Buy comfortable ones — tools you hate wearing are tools you won’t use.
Shop safety glasses on Amazon · Shop work gloves on Amazon
15. Toolbox or tool bag
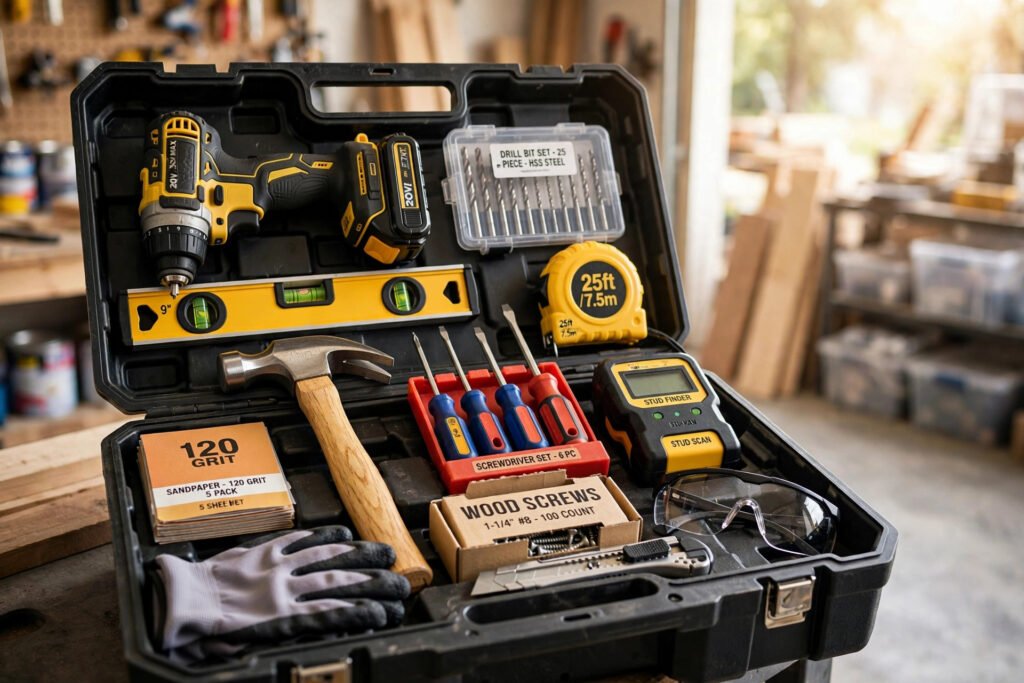
Your tools are only useful if you can find them. A sturdy toolbox or open-top tool bag keeps everything in one place and makes you dramatically more likely to actually start projects.
What You Don’t Need (Yet)
Beginners often overspend. Here’s what to skip for now and add later as projects demand:
- Circular saw — a great second power tool, but not for your first project. A handsaw or hardware-store cuts work fine to start.
- Miter saw — wonderful for trim and angles, overkill until you’re doing real carpentry.
- Orbital sander — the sanding block handles beginner projects; upgrade when you’re refinishing furniture.
- Specialty kits — drywall anchors, wood screws assortments, and the like are cheap add-ons once a project calls for them. (Grab a wood screw assortment when you’re ready for your first build.)
5 First Projects for Your New Toolkit
Ready to put the toolkit to work? These beginner builds use the tools above:
- Floating shelves — drill, level, stud finder, tape measure, pencil (my step-by-step guide)
- Wooden cutting board — sandpaper, clamps, wood glue (my step-by-step guide)
- Picture ledge shelf — drill, level, stud finder
- Planter box — drill, tape measure, speed square
- Hanging mirror or gallery wall — stud finder, level, tape measure, hammer
Tips for Building Your Toolkit
- Buy the drill first, then add as projects demand. The drill, tape measure, level, and stud finder will get you through most first projects.
- Stick to one battery platform. Once you choose a cordless brand, future tool purchases on that platform are cheaper (buy “bare” tools, no battery needed).
- Borrow before you buy for one-off tools. Need a circular saw for a single cut? Borrow one or use the hardware store’s cutting station.
- Buy safety gear first, not last. Glasses and gloves should be in the cart with your drill.
- Check battery-included vs. bare tool. That suspiciously cheap drill might not include a battery or charger — read the listing.
Frequently Asked Questions
What’s the minimum budget to start a DIY toolkit?
About $150 if you shop smart: a budget-friendly 12V drill kit (~$60–80), a tape measure, level, hammer, screwdriver set, utility knife, and safety glasses. Add the rest as projects require.
Should I buy a big tool kit set or individual tools?
For power tools, a starter combo kit (drill + battery + charger, sometimes with an impact driver) is usually a better deal than buying separately. For hand tools, buy individually — bundled hand-tool sets often include filler you’ll never use.
What’s the difference between a drill and an impact driver?
A drill is for drilling holes and driving screws with finesse. An impact driver is a screwing powerhouse — it drives long screws with less effort but is harder to control. Start with the drill; add an impact driver later if you do a lot of fastening.
Do I need a 12V or 20V drill?
12V drills are lighter, cheaper, and plenty for most home projects (furniture, shelves, light repairs). 20V drills handle tougher jobs and anchor a bigger battery platform for future tools. If you can only buy one, a 20V from a major brand is the more future-proof pick.
Are expensive tools worth it for beginners?
Not at first. Mid-range tools from major brands last years for home use. Buy quality on the items you use daily (drill, tape measure); go budget on single-purpose items until you know you’ll use them.
Shop This Build
Everything on this list, all in one place:
Power
Measure & mark
Fasten & fix
Sand & finish
Safety & storage
As an Amazon Associate I earn from qualifying purchases.
Happy building! Got a tool you swear by that’s not on the list? Drop it in the comments below.
Leave a Reply